Showing posts with label flower. Show all posts

November 13, 2011

Bella Nube Rose Tutorial

My sister knows me all too well. I made this... 
out of this.
My sister bought/sent Sam a silk lined wool skirt that she found at a thrift store. She knew I could "fix" it for Sam...and I did.  I threw it in the wash and dryer. Bingo! The skirt shrank so much that it fits Sam perfect now.  The lining is a different story.  
It didn't shrink as much.  So I cut it off the skirt.
I used half of the lining and cut up different sized squares...
cut these square in to random "cloud" shaped circles...
stacked them up by size...
and sewed each "cluster" right in the middle...just a couple of stitches, back and forth ...just enough to hold the "cluster" together...except for the last and smallest "cluster".
To the "cluster" that I didn't sew together, I hand-sewed on some beads...just random.  Then I hot glued it all together from the largest "cluster" to the smallest...added a pin to the back with hot glue...
and done...a beautiful cloud rose pin...
no matter the weather...
Bella Nube is Italian for Beautiful Cloud...and the darkening clouds tonight are definitely beautiful.  They hold an 80% chance of rain tonight and tomorrow...which is a very good thing for a drought stricken central Texas.

October 22, 2011

3D Flower Tee Tutorial

Sometimes I tend to take things just a little overboard...as a case in point, just look at what I sewed for Sam the other night...
see what I mean?  A humongo 3D beaded flower appliqued tee.  

Sam and I L.O.V.E. how this shirt turned out. We both especially like how the wavy petals and leaf give the shirt dimension.
Want to make one? 
But first a disclaimer: I want to apologize for not taking enough pictures for some of these steps...not only do I tend to go overboard at times but I also tend to forget to take pictures along the way when "crafting". So if you have questions, please email me...
3D Flower Tee Tutorial

I started out with 3 tee shirts: a plain long sleeved thrifted shirt and two patterned tee shirts that I already had.  The floral one should look familiar to you...it's the same as the one I used for this shirt here. The striped one was already in my stash of shirts that no longer fit Sam.

Making the flower applique
1. Cut your tee across at the arm pits.  
Now you should have a tube from the bottom part of the tee.  

2. Cut down the sides of this tee tube. You should have two pieces. Use fusible web to fuse these two pieces together...WRONG SIDES to each other.  

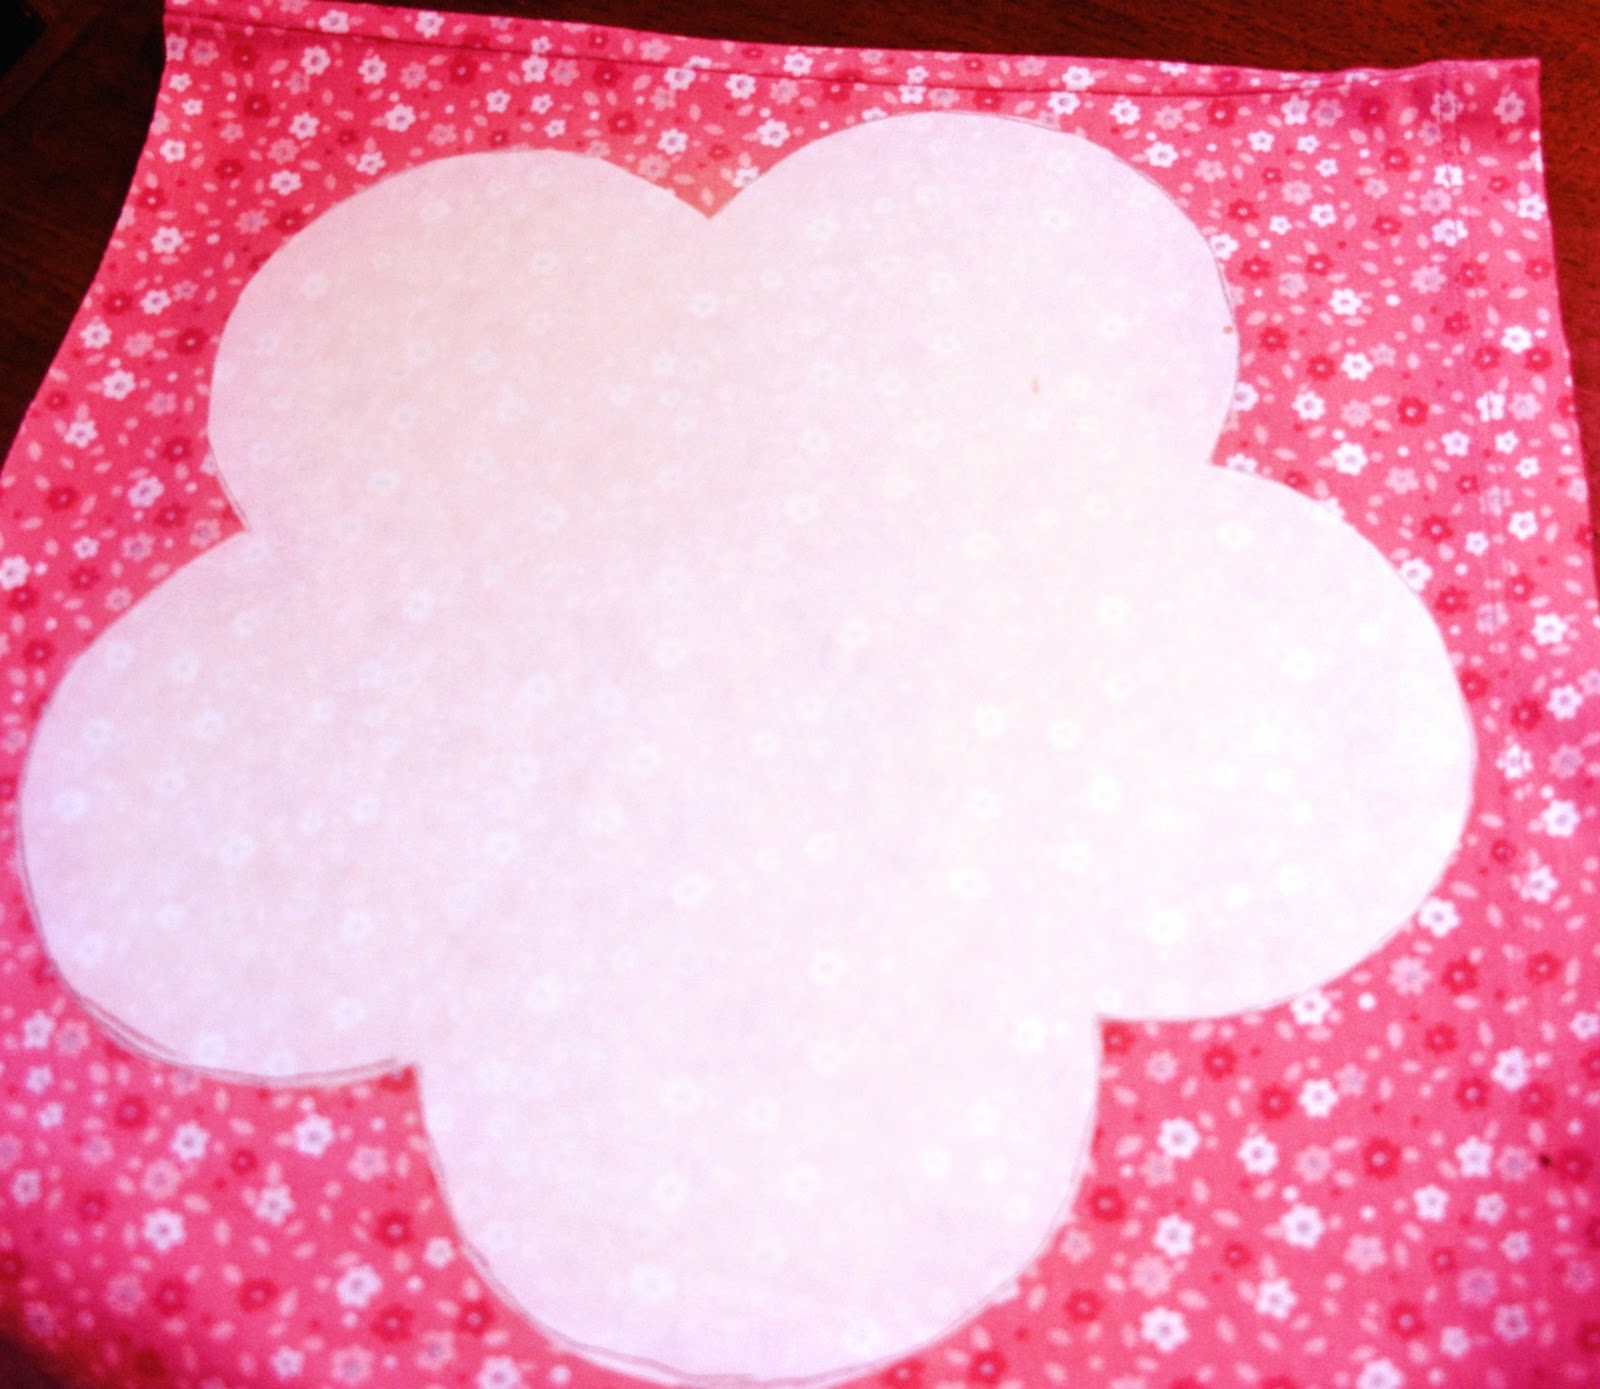
3. Make a flower pattern using freezer paper.  You can free hand it or do like me, find an image on the web, copy and paste to a word document and enlarge...trace your image onto the dull side of the freezer paper.

4. Iron on the freezer paper, shinny side down, onto the fused fabric. Let the fabric cool down and using the outline of the flower, cut out the flower piece. 

5. Now find a plate that is large enough to cover up most of the center of the flower.  Using said plate, make a pattern on freezer paper.  Iron on the freezer paper to right side of fabric and then iron on fusible web to the wrong side of fabric. This circle is only one piece of fabric and not two like the flower part. Once cooled, cut out circle. Now you have the second part to your applique. 

6. Repeat the above process but now use a smaller plate to make the inner circle. Now you should have a flower and two different sized circles.  

Assembling the flower applique 
7. Lay down the flower piece and lay the bigger circle on top, making sure to center it.  Be sure to have the wrong side, the one with the fusible web, down. Iron on that circle to the flower.  Now repeat with the smaller circle.

8. Now that the flower is all fused together, zig-zag around all the edges. Use a tight zig-zag stitch. I used the shortest stitch length and the longest stitch width to get a nice tight zig-zag. I also used the gap on the sewing foot as a guide while sewing the edge.  It works every time.  
9.  Sew on beads if you want.  Since this fabric had small flowers with a blueish center, I just sewed on a bead at each of the blueish centers.
10. Use freezer paper and draw out a stem and leaf. Follow the steps 3 and 4 to make, cut and fuse the stem to your shirt.  
Once fused, zig-zag the edge of the stem to the shirt.
11. For the leaf, follow step 2...it needs to be double-sided. Zig-zag the leaf edges. Pin the leaf onto the shirt and sew a straight stitch down the middle of the leaf onto the shirt.
12. Now position your flower onto your shirt. Pin it securely and
 sew a straight stitch right along the inner edge of your zig-zag stitch. Again, use the gap on your sewing foot to guide you.
*Make sure to alternate your fabric patterns when cutting out the flower, circles, stem and leaf so that your shirt has a contrasting pattern to it. 

This has been the hardest tutorial I have ever written because of the lack of photos, but I hope it made sense to you.  If not, please just email me and I will try to clear it up for you.  


October 03, 2011

Silk Poppy Pin Tutorial

I'm sure you've seen these around, but just in case you haven't, here is a quick tutorial on how to make your own poppy flower pin.
You will need some silk fabric, a tea candle, fire, beads, pin, needle and thread.  About a year ago, a local designer was giving away outdated upholstery/drapery fabric sample books on Craigslist.  I called and made a mad dash to her studio. I came home with this:
Over 30 books all neatly kept in a trunk.  I clip and cut as I need from my never ending stash. For this flower I used some silk fabrics that I cut from the sample books.  If you don't have sample fabric books just laying around, don't worry.  I have used skirt lining fabric in the past and the flowers come out gorgeous. Here is a chocolate colored rose made from skirt lining:
Okay, the tutorial...cut out several circles from your fabric. You want to vary the size of the circles.  My largest circle was about 4 inches in diameter while the smallest was about 2 inches in diameter. I cut out several circles all from different samples.
Light the candle and very carefully, lightly singe the edge of the circle.  All you want to do is to prevent the fabric from fraying.  Sometimes, depending on the fabric, the fabric will curl in, and that's okay.

What is not okay is this; these actually caught fire!! So be very careful not to scorch your circles, or your house for that matter.
These turned out nice and rufflely...
Once you have all your circles done, choose which ones you want to use for your flower.  Play around with the position of the circles making sure to layer from the bottom up and from the largest circle to the smallest. Once you got the perfect combination, sew the circles together, sew on the beads and hot glue a pin to the back.
Don't be afraid to play with different color combinations.
And if you are still leery about making your own, you can always win one here.

October 01, 2011

Thank You...and a six month blogversary give away

I'm blown away...really I am.  When I started this blog 6 months ago (April 2nd), I never imagined to be where I am right now.  I didn't start this blog to become rich or famous.  I started this blog just to prove to myself that I could and I did.
I've learned a lot in 6 months.  I've learned:

-that blogging is hard work, 
-how to use the little tulip button on my camera (zoom in),
-how to prioritize my time better,
-how to take better pictures,
-how to tinker with HTML code,
-that a sewing needle can go through a finger,
-that my kids know more about computers than me,
-to trust my instincts, 
-to stay true to myself,
-not to worry about what others say,
-how to stumble, tweet and follow,
-that I don't need to be checking my inbox every 5 minutes,
-how awesome it feels to be recognized,
-that people out there follow me because of what I have to say, 
-that I don't have to post everything I make,
-that I need my own craft room (hint, hint to my hubby), and
-that I don't need fancy gadgets to cut circles or make stencils.

With all this said, I just want to thank you for continuing to read this blog, for commenting on my never ending t-shirt redos, and for parting with me.  As I write this post, there are 101 followers and that is really neat. So, let's have a give away in honor of YOU.  

Remember the out of place picture at the beginning of this post?  Well, I made that with this post in mind.  One lucky reader/follower  will win that silk flower pin. All you have to do is leave a comment.  
(Follow if you want, but I will never make you follow my blog...I want you to follow because you want to.)

The random winner will be chosen using Random.org.  Closing date is Thursday, October 6th. Winner will be announced on Friday, October 7th right before It's A Rockin' Party #4.

Thanks again and good luck...

Carmen


September 10, 2011

Baby Rose Shirt Redo

I hope you are not getting too tired of my kid's shirt redos, but I REALLY like to make their shirts, especially if I can reuse their baby clothes.  My kid's baby clothes were/are so cute...I just can't help myself.  
So, this refashion comes to you courtesy of my daughter's long sleeved 2T shirt.  I love the details of this shirt and how cute it looked on Sam when she was little.  When she outgrew it, it got put away. I figured I would let Sam use it for her dolls someday. Well, forget the dolls, I used it to make a cute shirt for Sam ...six years later.
Here is what the 2T shirt looked liked before the transformation.  See how wrinkled it is from being tucked away in a chest for years?  I love the rose cut-out and the striped sleeves especially the ruffled edge at the end of the sleeves...
So, basically what I did was cut out the flower cut-out  and centered it to the new shirt. I did this by folding the shirt side ways and ironing a line down the middle.  Then I did the same with the cut-out.  
See the thread running down the middle...that is just to show you how to line up the shirt with the cut-out to get it to look centered. 
Then pin and sew around the cut-out
I sewed around the cut-out twice just because...and then trimmed the edge (sorry, forgot to take pic)
Make several strips by cutting up the sleeves. Fold and iron your strips length wise
and use them to trim out the sleeves like you would with bias tape.  Just start with one strip and when that strip runs out, layer another and continue around the sleeve.
Just sew around the sleeve.  I used the width of the foot as a guide. 
Once I was done sewing, I just trimmed off the extra fabric.
Don't forget to do the same for the neckline. Remember the cute ruffled edge on the sleeves? I cut the ruffle close to the edge and made these pretty roses. I pinned them to the flowers that were printed on the cut-out.
I sewed/tacked them down by hand and added clear beads.
and there you have it...still cute six years later ...
and, um, yeah, don't you think the shirt is cute too...?


August 27, 2011

I love you with all of my HEARTS...shirt

I made this shirt for my 3rd grader on her first day of school. 
It matched nicely with the Charming Rose Hair Clip I made for her. 
Our town Wal-Mart was in renovation mode this summer so I bought several shirts for a buck a piece.  
I used two of those shirts to make this one for Sam; the solid one fit and the flowered one was a size 5 (way too small for Sam).  It didn't matter since I knew I would use it somehow. 
I cut up the flowered shirt...
and cut out as many hearts as I could. 
I pinned them onto the solid pink shirt...
and went to town sewing across each heart with contrasting thread. I didn't bother stopping when I came to the edge of a heart; I just kept  sewing.  I made sure to back stitch each line before and after the stitch.  
I like the rawness of the look.
It didn't matter if the stitches were kinda wonky or uneven...
I even added hearts to the back of the shirt.
Then I cut in-between the stitches.  
You can use these 2 tutorials (here and here) for further details on how to do this. 
To the sleeves I added the ruffle that was on the neckline of the flowered shirt. 
I just cut it in two pieces and sewed them on.
It just seems to complete the look of the shirt.
And so off Sam went to be a 3rd grader, 
heart shirt and all.  
I'm glad that she's never too big to be Daddy's girl...
doesn't this picture just melt your heart...?
Related Posts Plugin for WordPress, Blogger...