I made these cards for a very special friend of mine who lives in West Texas.
Her initials are DL...so if DL is reading this, then, uhm, -Look, over there...something shiny!...
Whew...gotta distract the girl...these are for her birthday.
Her initials are DL...so if DL is reading this, then, uhm, -Look, over there...something shiny!...
Whew...gotta distract the girl...these are for her birthday.

Remember this post...Silk Poppy Pin Tutorial and how I told you how I scored about 30 upholstery/drapery fabric sample books on Craigslist?...Well, for these cards I used the bottom of the fabric that has the glued paper backing. It's perfect because the fabric doesn't fray or unravel. I just cut along the pink lines I have marked here...

... and I ended up with lots of these :

Beautiful colors and lots of textures. The added bonus is that these books come with fabrics that are color coordinated so there is no guessing when choosing a color scheme.
I always try to have a stash of store bought blank cards because you just never know when you are going to need one, or several. I usually buy cards at Hobby Lobby when they are 50% off .
So, take one card, fold in half and add hot glue to the front, only on one side first like this:

quickly and with lots of care (hot glue is, well, um, HOT), place a fabric strip to the glue...

and repeat till you get to the end of the card...

and then the back should look like this:

Notice that the fabric strips are not lined up with the card...that's okay because now you are going to do this:

Trim the card on all sides. Now this step is not necessary but I do it just to get a crisper looking card. I iron the inside of the card (the side that has the fabric) with 2 or 3 swift passes of the iron. This remelts the lumpy hot glue and gives you an even glue coverage between the card and the fabric. Once you iron the card, place it immediately between two heavy books and let it cool down. Also, just in case you don't have sample fabric books just laying around, you can use double sided scrapbook paper.

Aren't these beautiful?
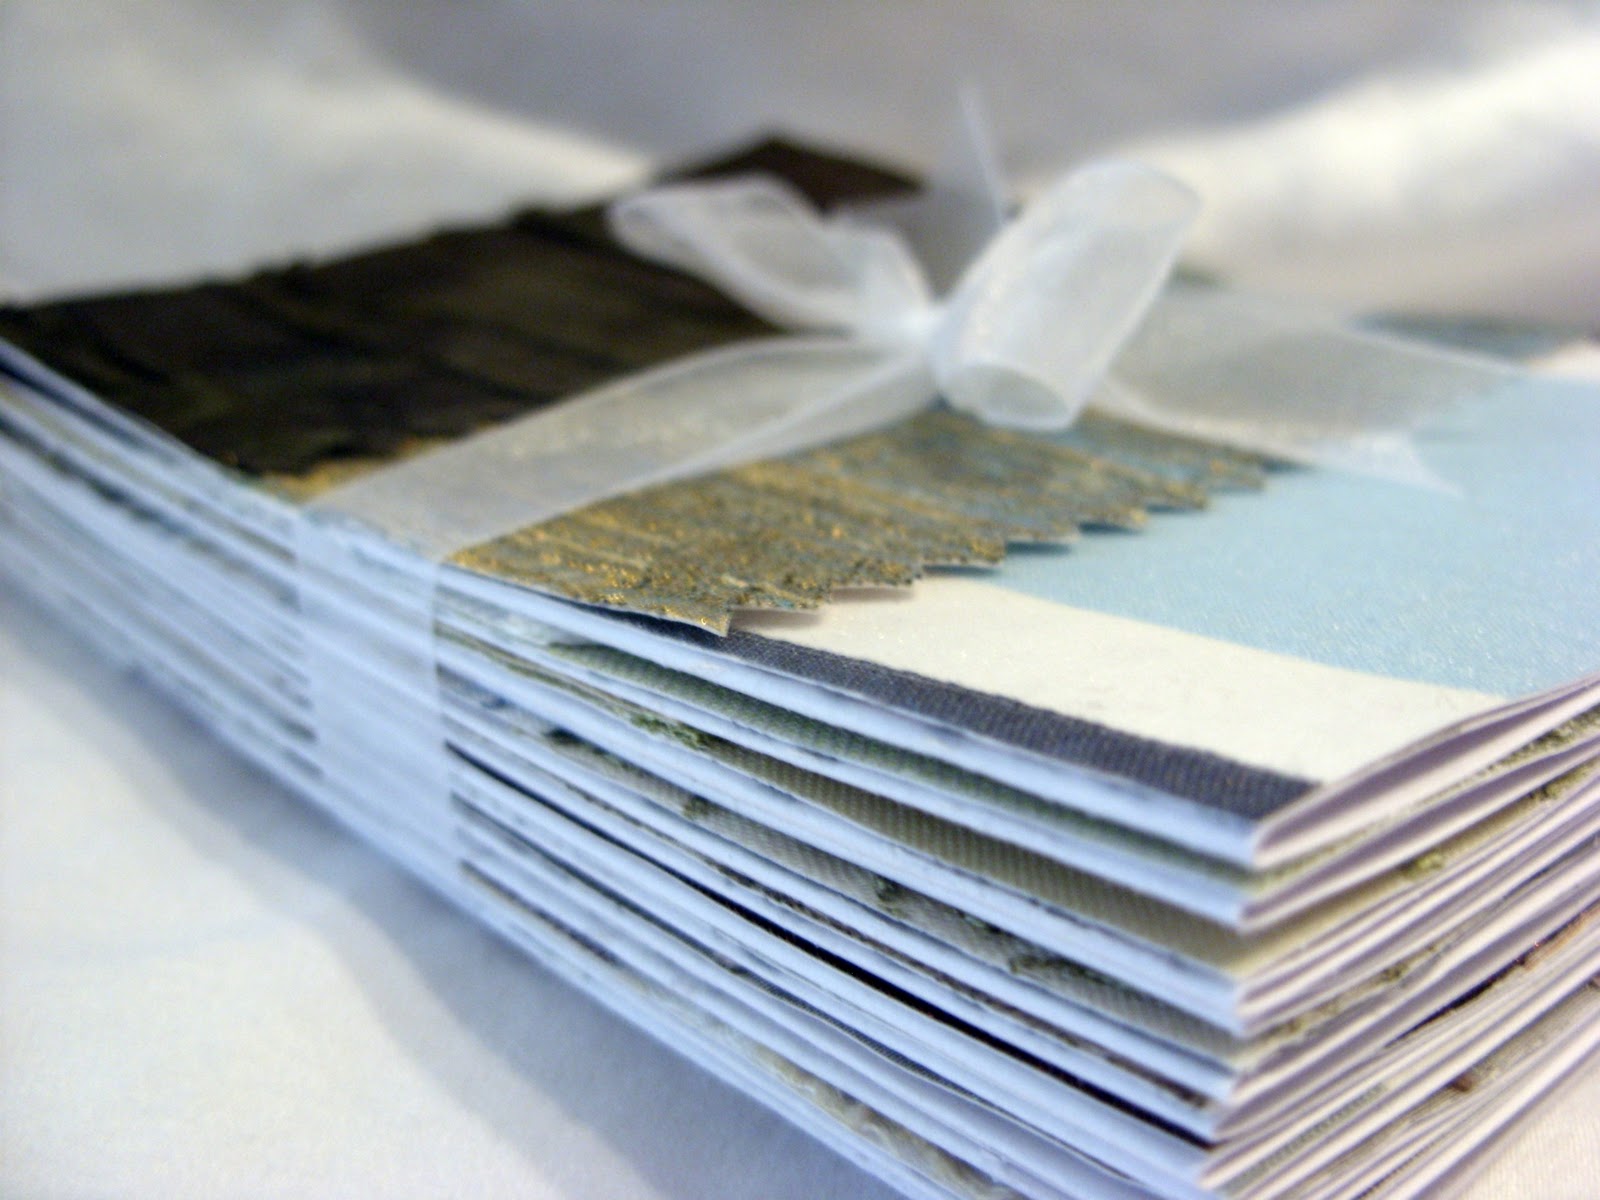
I made a set of 12


Add a bow...

and they are ready to be mailed off to my sweet friend DL. And DL, if you did read this that's okay.
Thanks for being my friend; 584 miles away. Happy Birthday.