November 09, 2011

You ROCK #8 Features

Wow...I can honestly say that last weeks party was the best thus far...we had many fabulous knock-offs, scrumptious recipes and awesome DIY tutorials. Every single post was super creative in every way...thank you, thank you, thank you to all who linked up and shared your incredible inspiration with us.

So, here is the most viewed link-up that ROCKED IT last week....
This "I-can't-believe-this-is-a" knock-off Pottery Barn Pillow
by Don't Disturb This Groove. Seriously, this looks just like the original without the original price tag.  Go check out the tutorial and make a one or a couple...

My favorite three projects were:

This biker's wreath by c.w. frosting.  I've seen wreaths made from many things but a bike's old tire...and spare bike parts, and origami flowers and coffee filters...now this is pure genius and manly. Go check out the tutorial...


Next are these drop cloth pillows that Pitter and Glink made.  Love the stencil work, the ruffles and the color combinations.  They all work together beautifully...

 Next in line is this mouthwatering hot fudge sundae cake by A Pinch of Joy. Um, dear sweet sisters of mine, makers of anything and everything thankful day feast...can we sub a pumpkin pie for this instead? Pretty please...

And last is this ever so clever and brilliant reminder for our little ones. A bathroom print out by The Crumb Factory that speaks volumesNeed I say more...

So there you have it...4  5 terrific projects from 4 5 very different crafters.  Thank you to all who linked up last week...make sure to come back this coming Friday so we can continue to Make and Create together. If your project was featured, make sure to grab your button.


<div align="center"><a href="http://www.rocaandcompany.blogspot.com" title="roca and company"><img src="http://i55.tinypic.com/309lhg8.jpg" alt="roca and company" style="border:none;" /></a></div>

November 03, 2011

You ROCK #8

Joshua participated in this year's Book Character Parade at school.  The idea is to get kids to dress up as their favorite book/story character and parade around the school with book in hand...can you guess what Joshua's favorite book "character" is?
Yup...it's the Batman Monster Truck!
 My husband spent most of Saturday afternoon working on this...He did an AMAZING JOB! Joshua was beaming from ear to ear as he paraded to the "oooooo's" and "ahhhhh's" of all that saw him...
it was such a great moment for Joshua and Dad.
~.~.~.~.~.~.~.~.~.~.~.~.~.~.~.~.~.~.~.~.~.~.~.~.~.~.~.~.~.~.~.~.~.~
So, are you ready to ROCK IT?!
Here are the very simple to follow rules:
1. Link up something that YOU made: sewing, craft, recipe, anything that you would like to share, etc…
2. Link up to the specific post; not your blog.
3. No linking giveaways or items for sale.
4. Visit and comment/encourage at least one fellow blogger friend.
5. Grab this button and post on your blog or post...just somewhere where others can come and link up as well.


<div align="center"><a href="http://www.rocaandcompany.blogspot.com" title="rocaandcompany"><img src="http://i52.tinypic.com/u3mky.jpg" alt="rocaandcompany" style="border:none;" /></a></div>

 And just a simple request, it's optional, only if you want, I'm not gonna make you, BUT it would be nice if you would follow RoCa and Company
So you ready to Party?! Let's ROCK this place!
Also, remember that the party will be open until Monday night. On Wednesday, I will feature the #1 link that ROCKS (the most viewed). I will also showcase my 3 favorites. And to entice you just a little more, the #1 link that ROCKS will also get to be a guest blogger at a future date (of course only if the winner wants too)...Sounds like fun, right?

Guest Blogger: Stephanie from Lady With the Red Rocker

Remember this awesome Beaded Indian Corn Pin from Lady With the Red Rocker? 
Well, Today we have Stephanie sharing another fun, colorful and simple tutorial. Her pin was the top viewed link two weeks ago at It's A Rockin' Party and therefore she gets to be a guest blogger today...so without further ado, here's Stephanie...take it away girl... 

~.~.~.~.~.~.~.~.~.~.~.~.~.~.~.~.~.~.~.~.~.~.~.~.~.~.~.~.~.~.~.~.~.~.~
Hello! My name is Stephanie Hill, I'm the Lady With the Red Rocker on my porch. I'm a stay at home mom of 4 beautiful children, and wife to my wonderful husband, Doug. We stay busy with church and school, so I have to sneak my craft time in-between all the craziness.

I am so excited to be here today. Thank you, Carmen, for being so gracious to me, for allowing me this opportunity to share with the fabulous RoCa and Company. This is my first guest post, so I am super-duper excited!

My project for today is for a DIY picture re-paint. You've heard of "paint by numbers", well this is kind of like that, but without the numbers... Okay, it's not really like paint by numbers, maybe more like paint by colors? Um... never mind, let me just tell you what I did. ;)

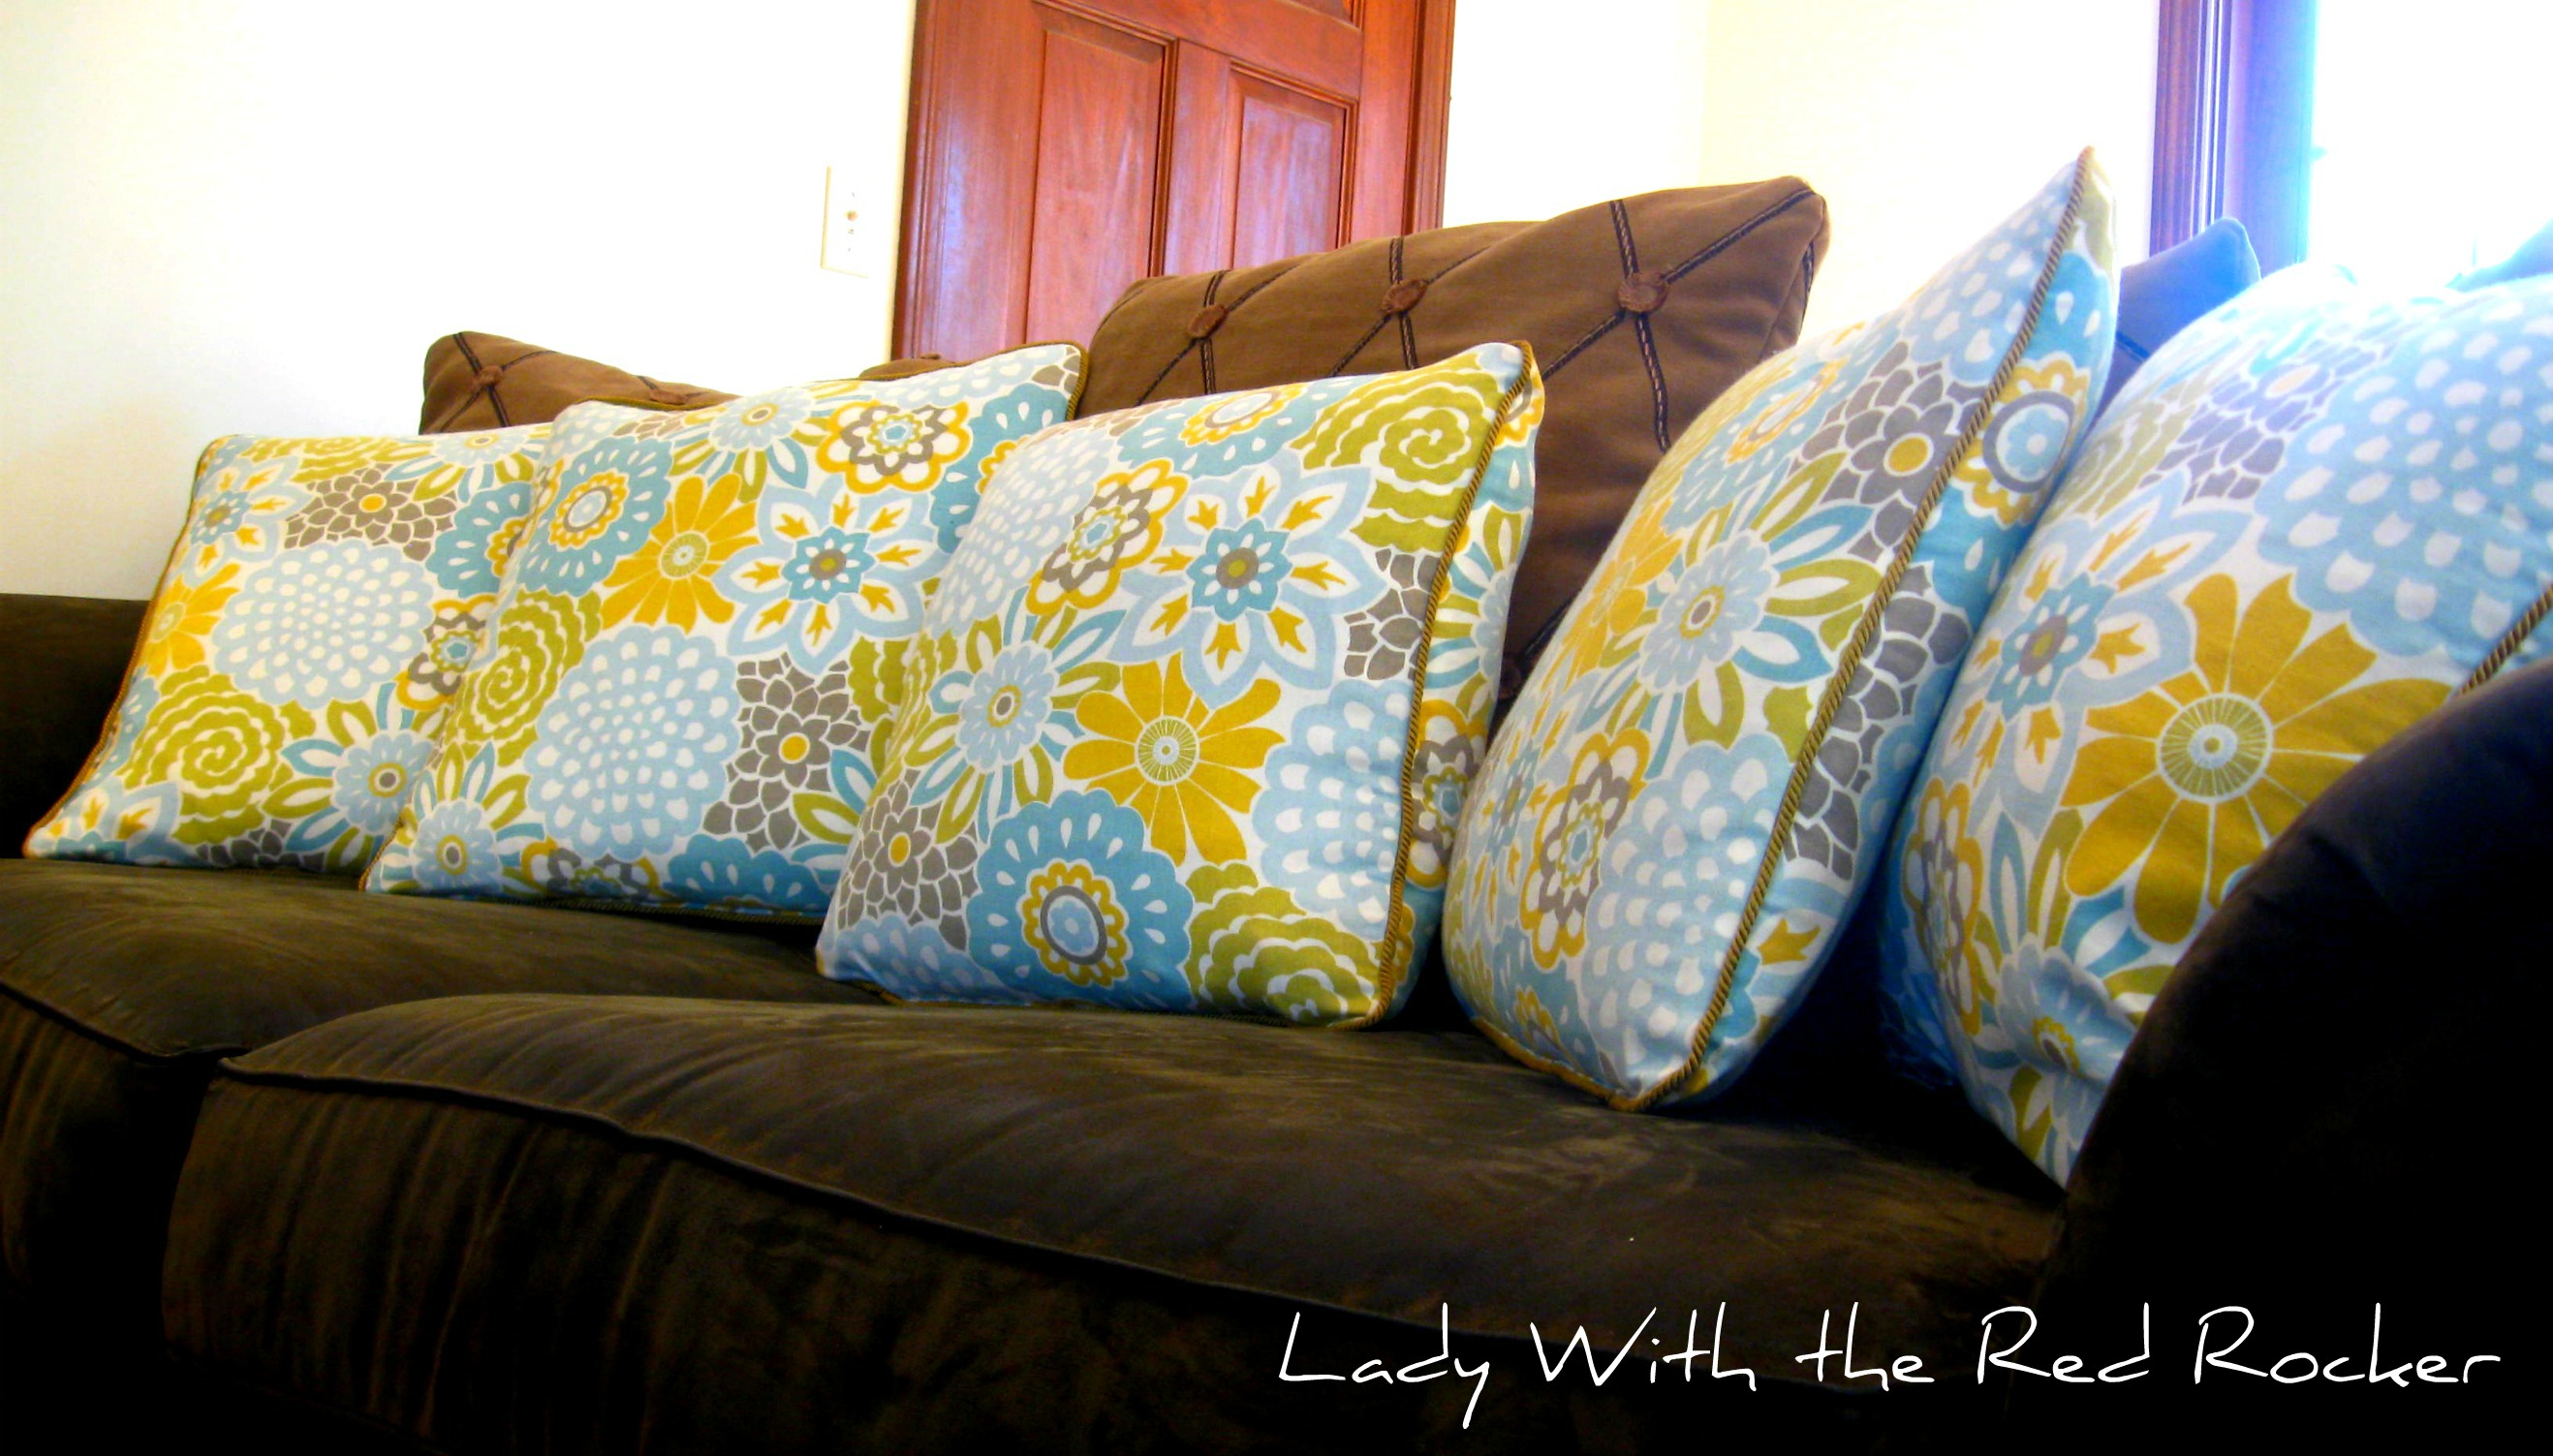
I've been in the slow process of re-doing my living room, and I re-covered the 47 pillows on my couch...

(No, I don't really have 47 pillows on my couch, it just felt like it when I was in the middle of sewing them. ;))

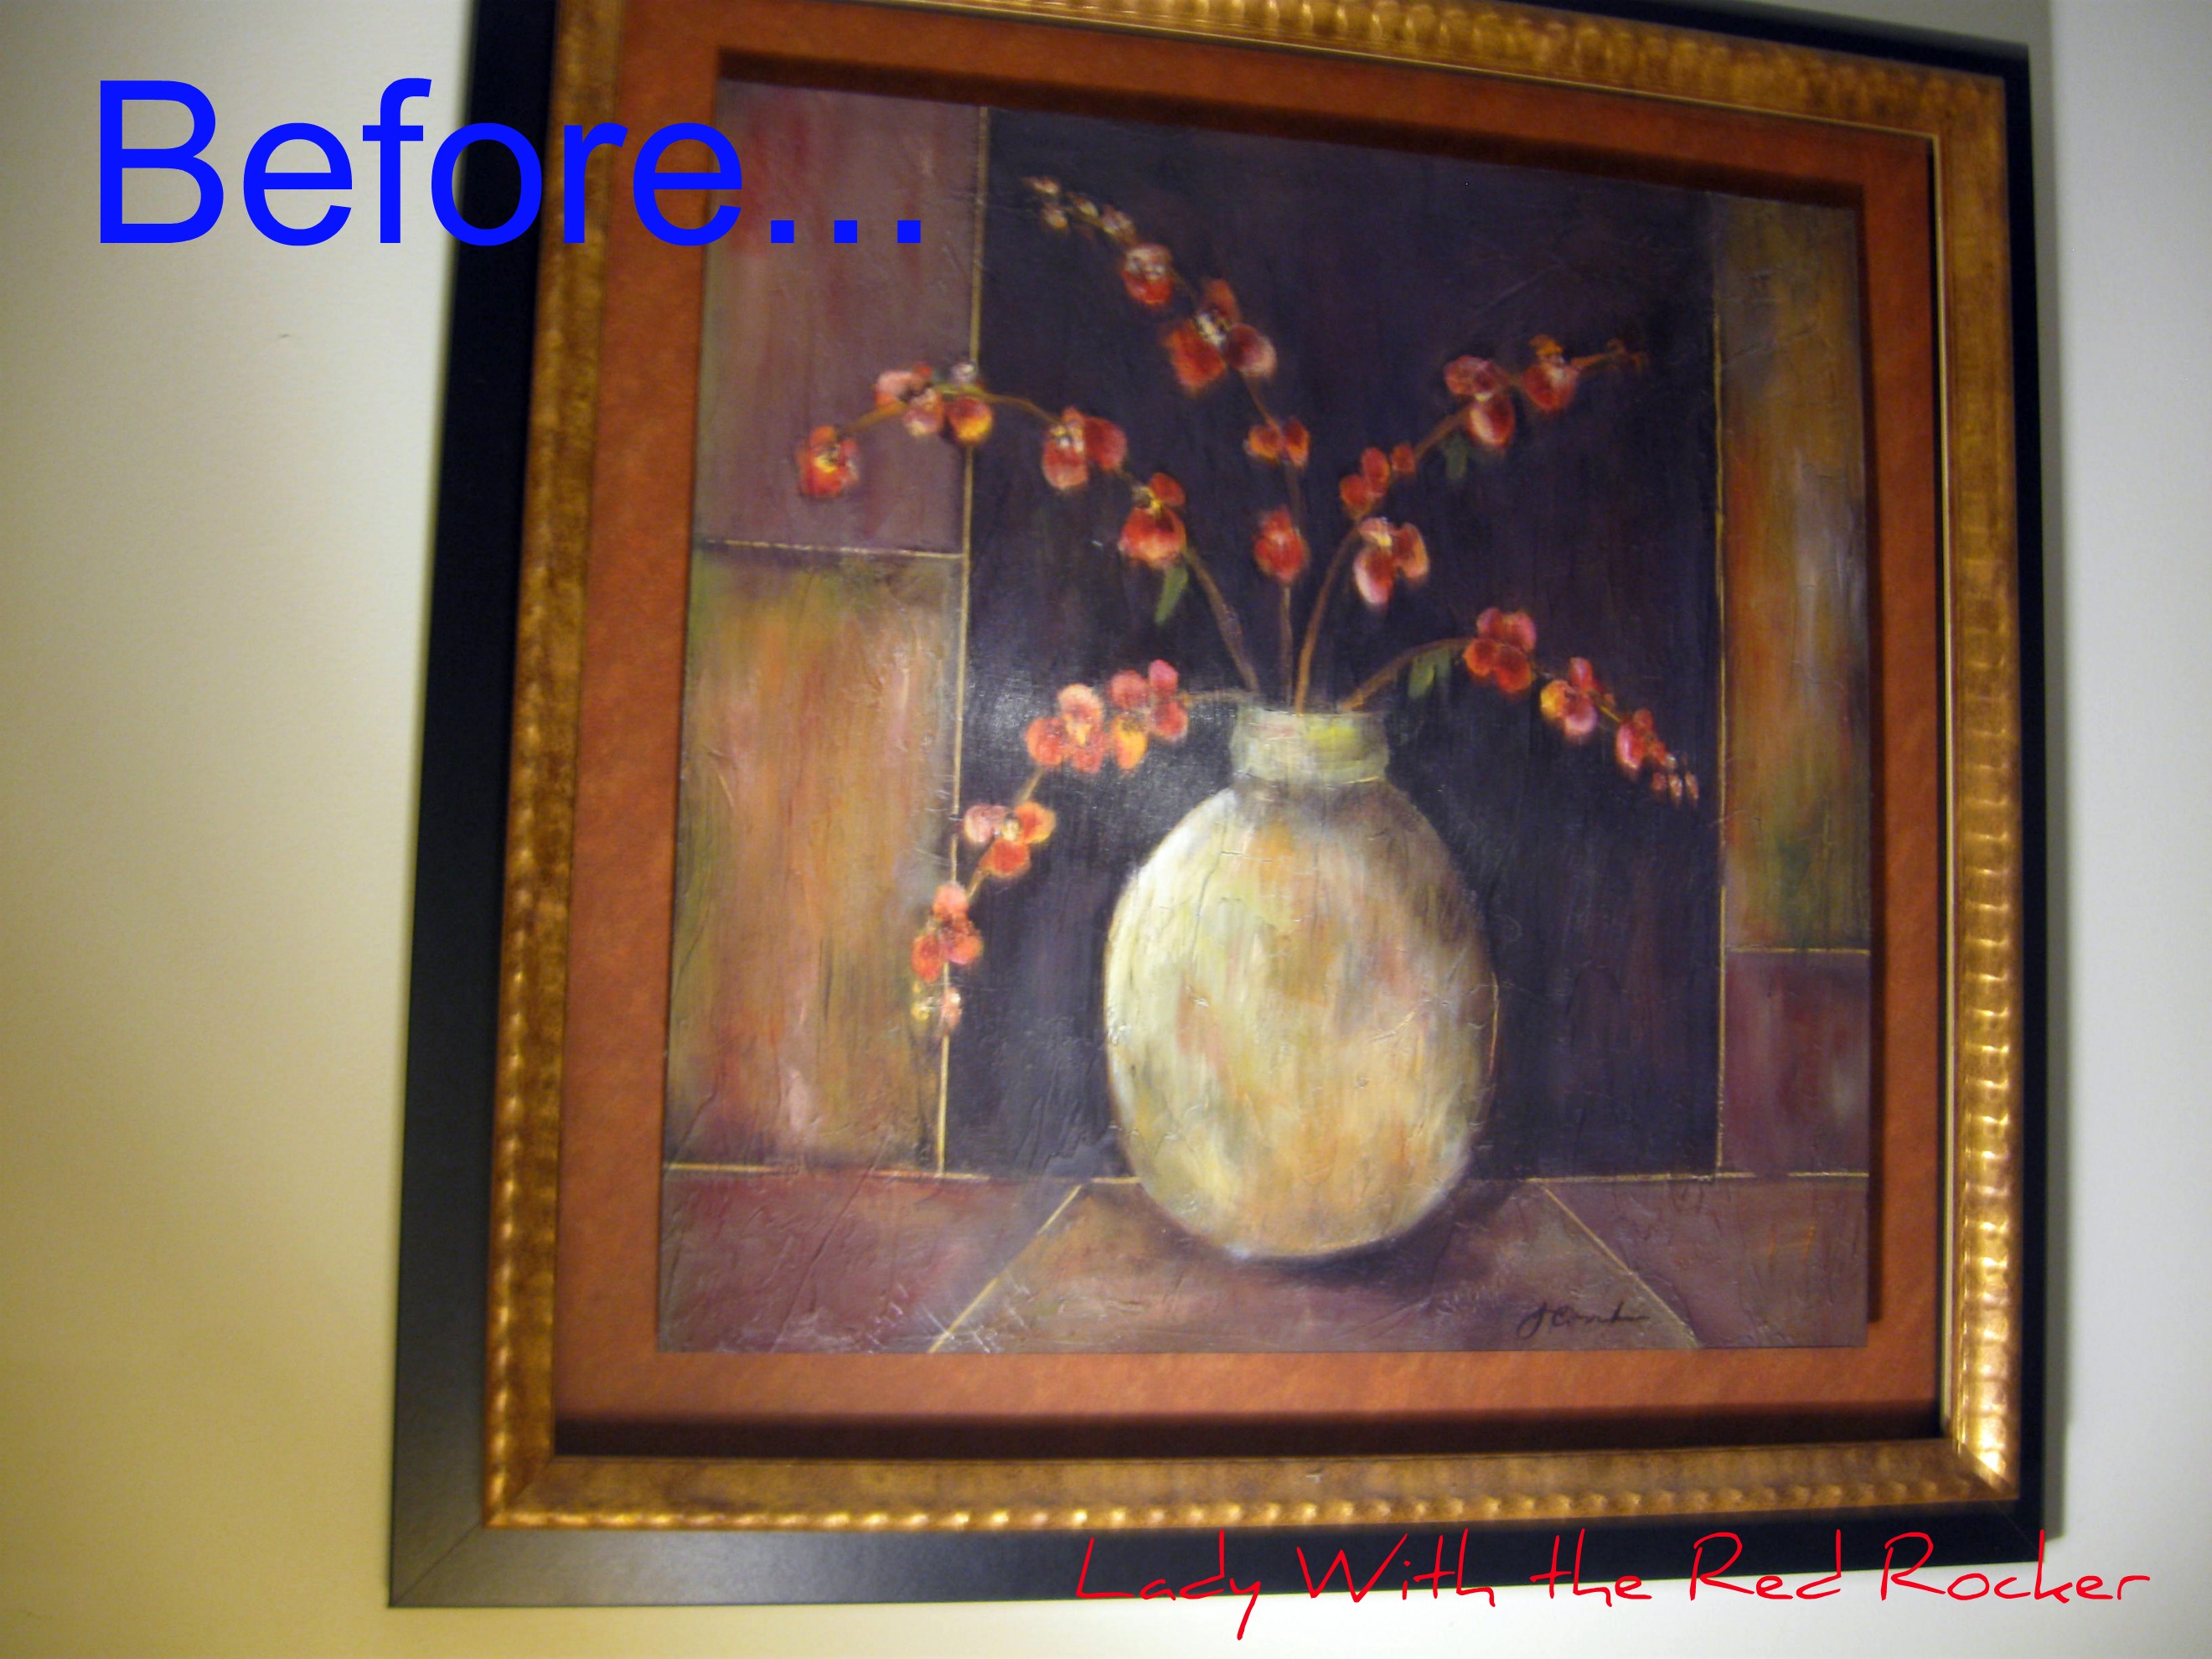
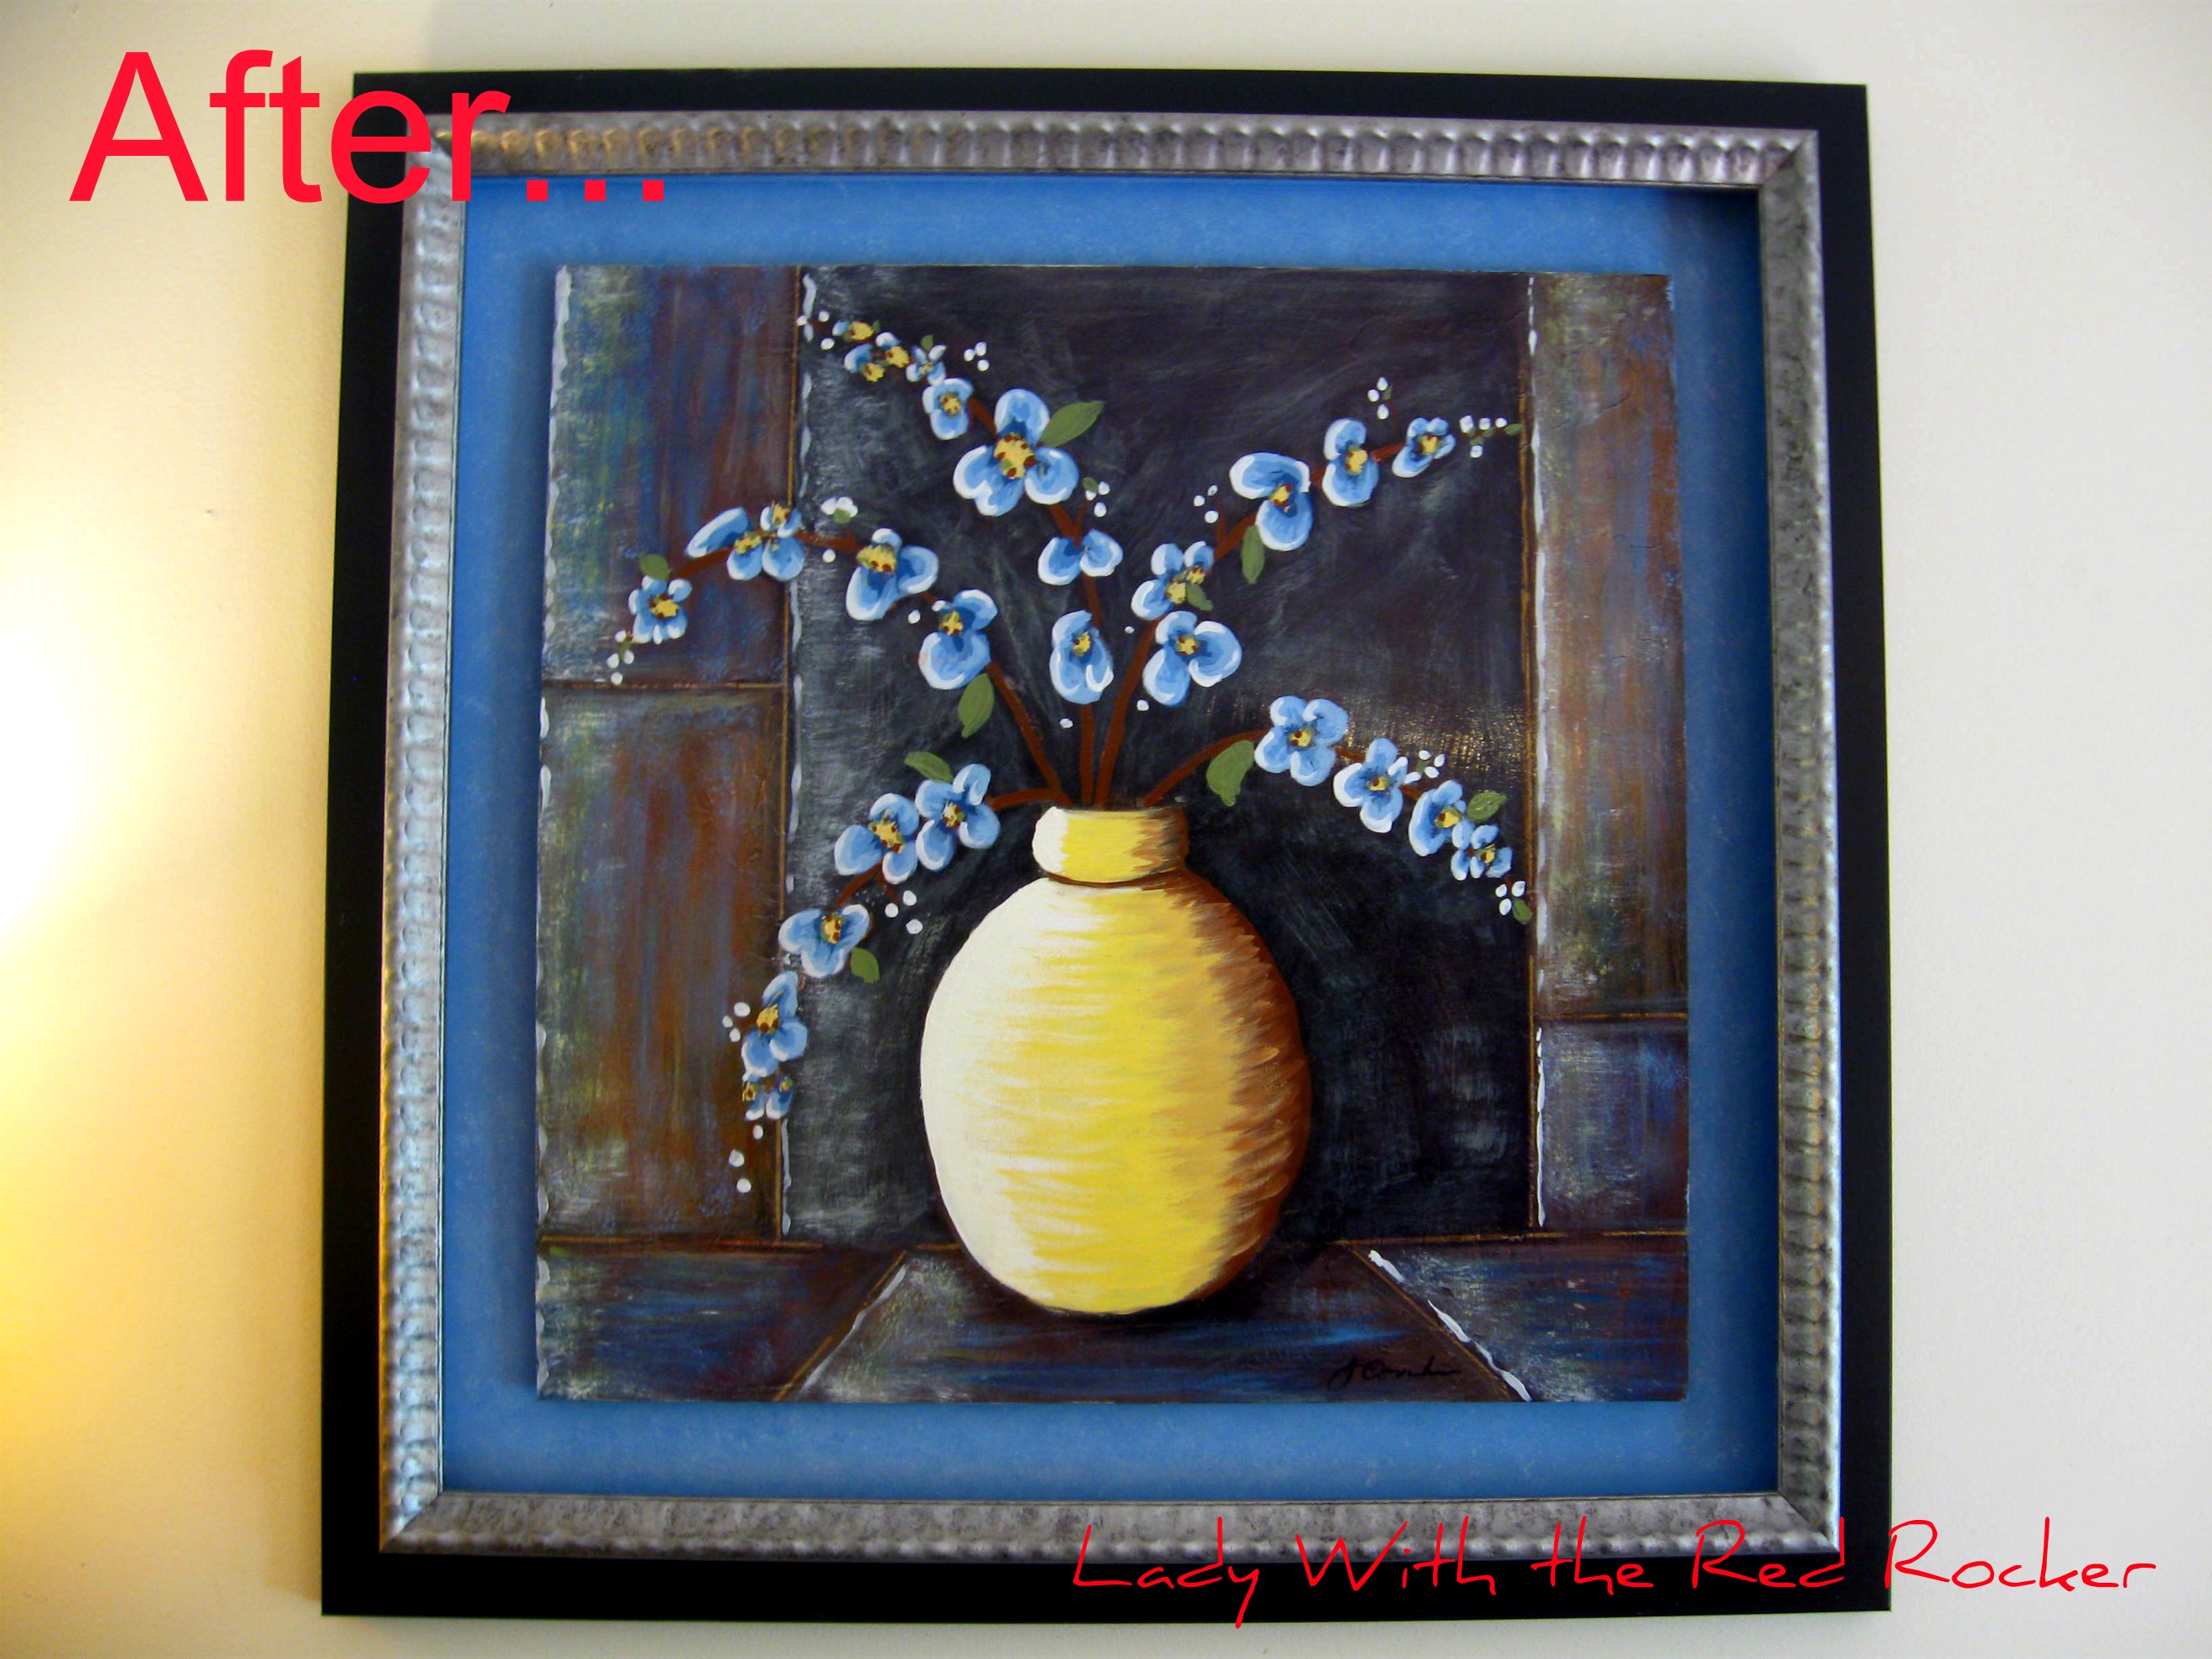
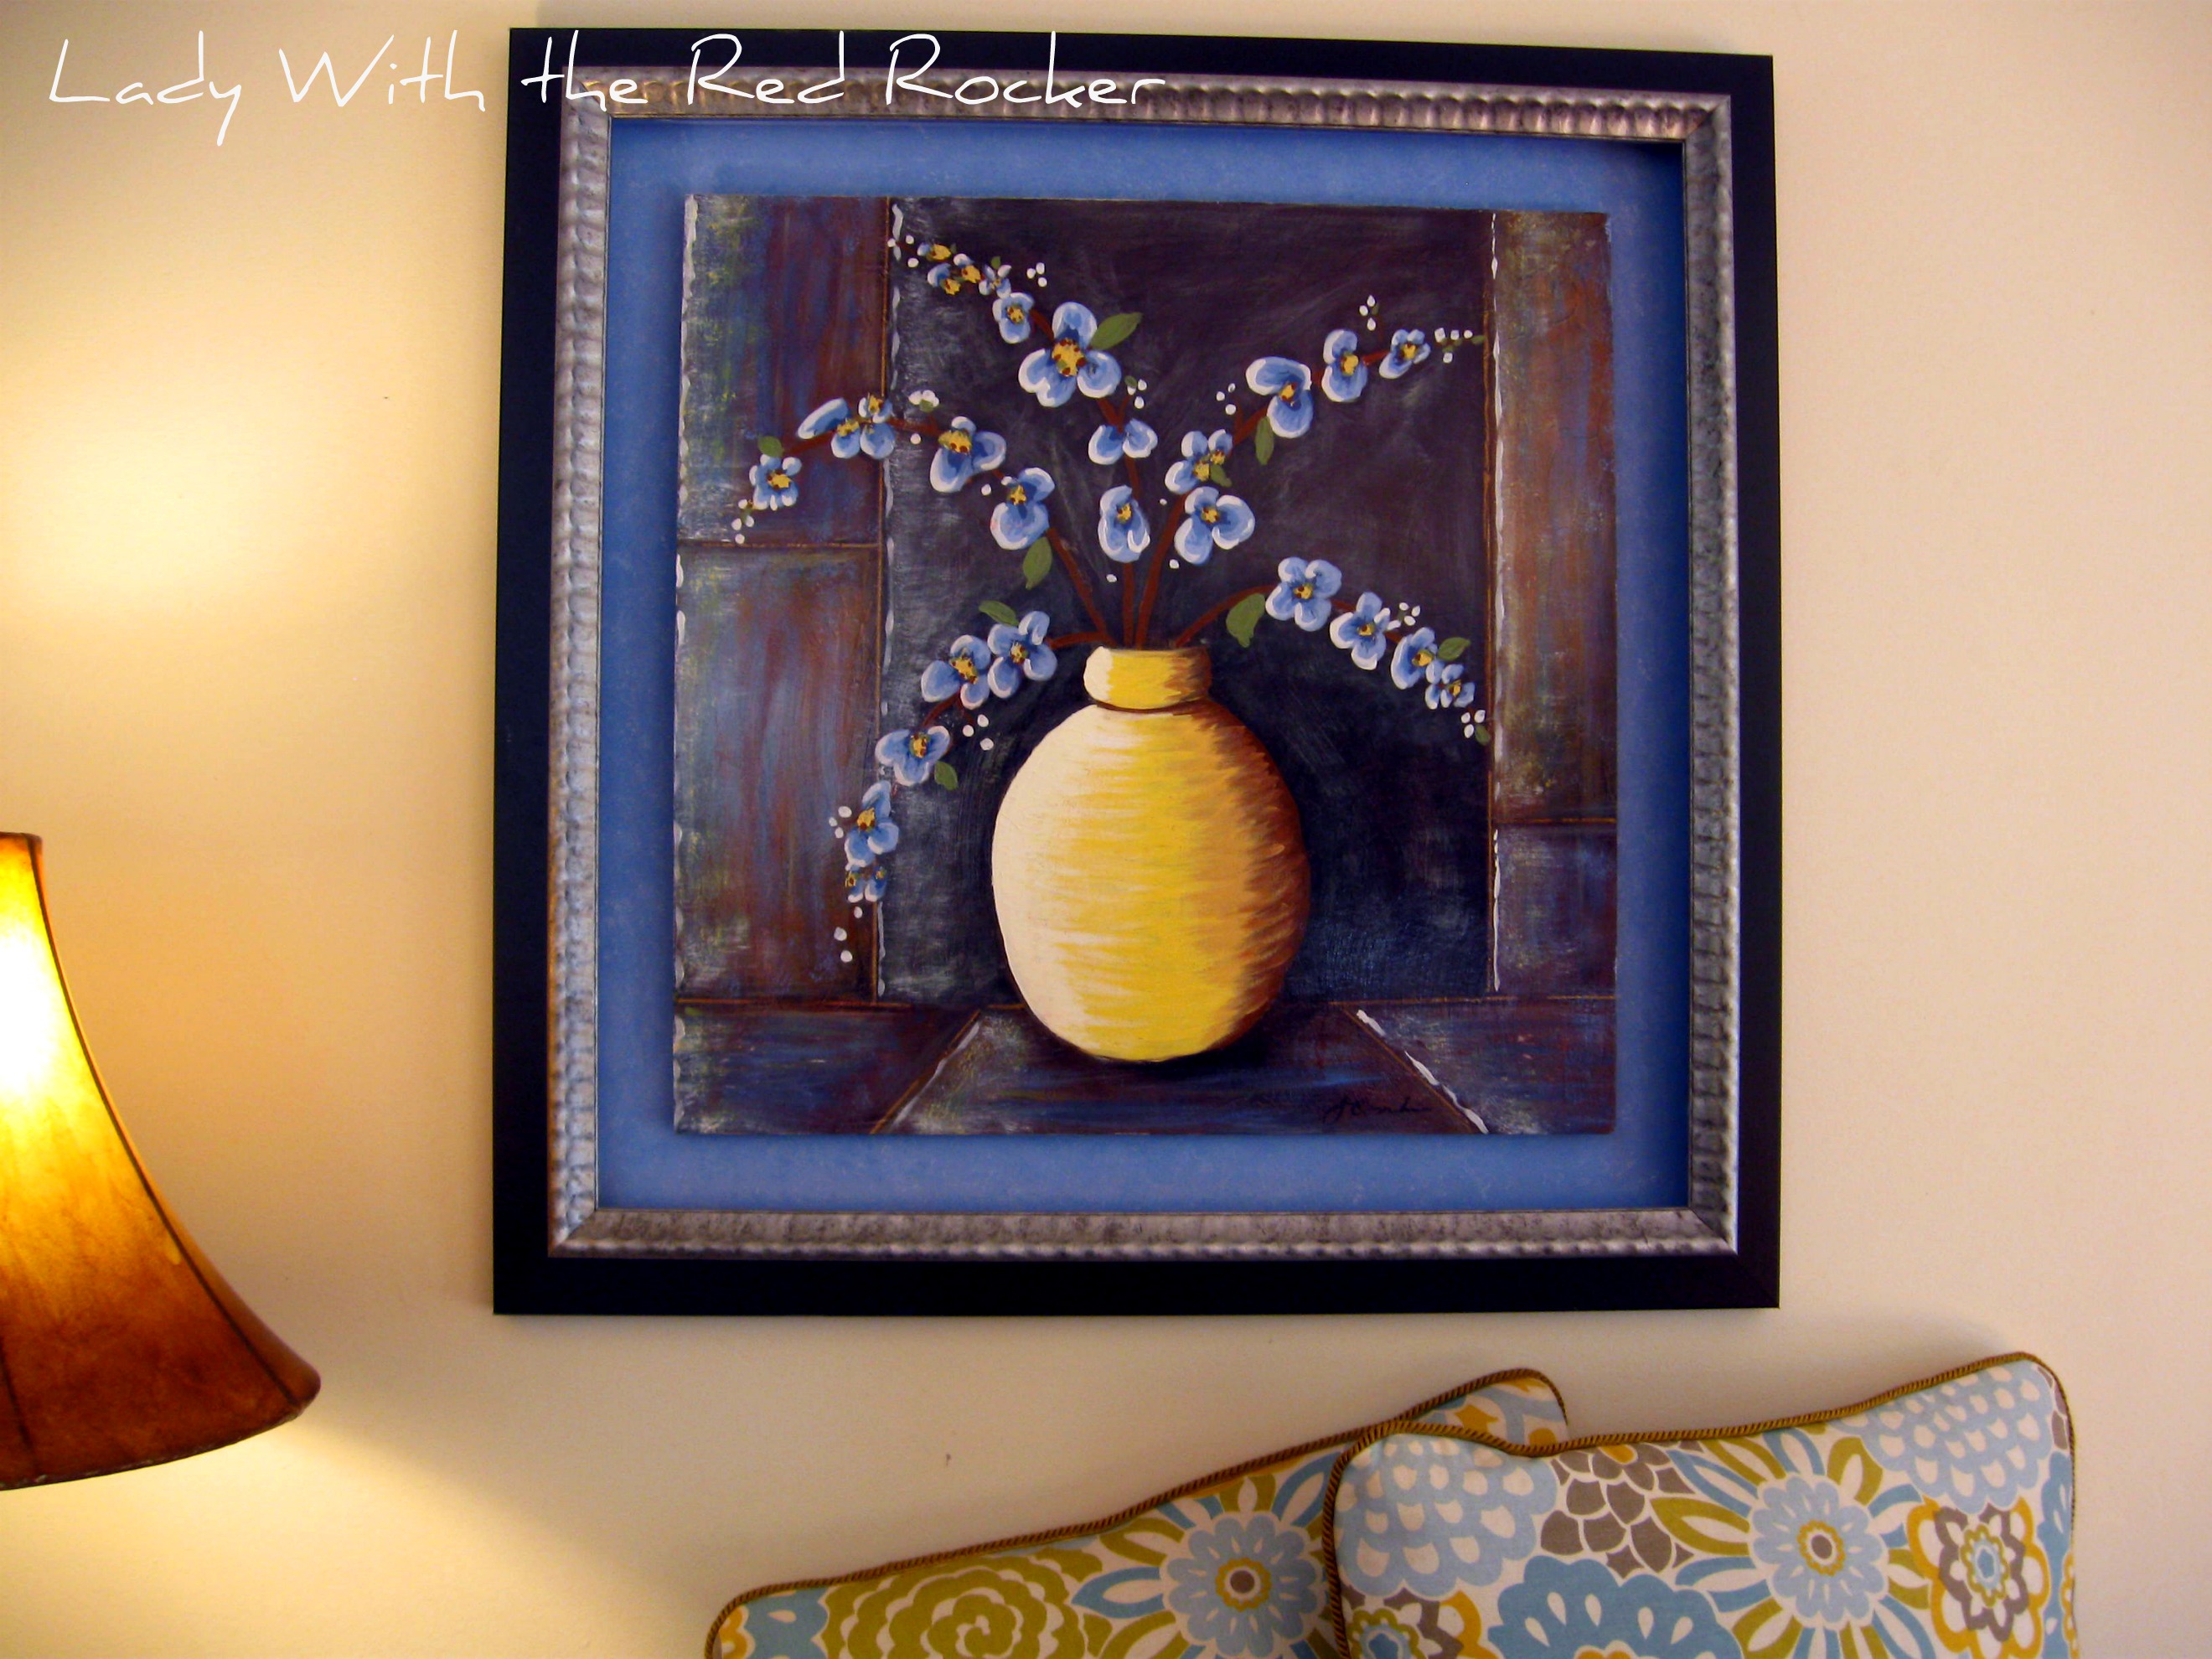
The pillows have a lot of blue in them, and the picture I had on the wall really wasn't working for me, so I decided to re-paint it. Here's the before and after...

The first thing I did was lightly sand the whole picture, just enough to take off the gloss finish, to help the paint to adhere better.

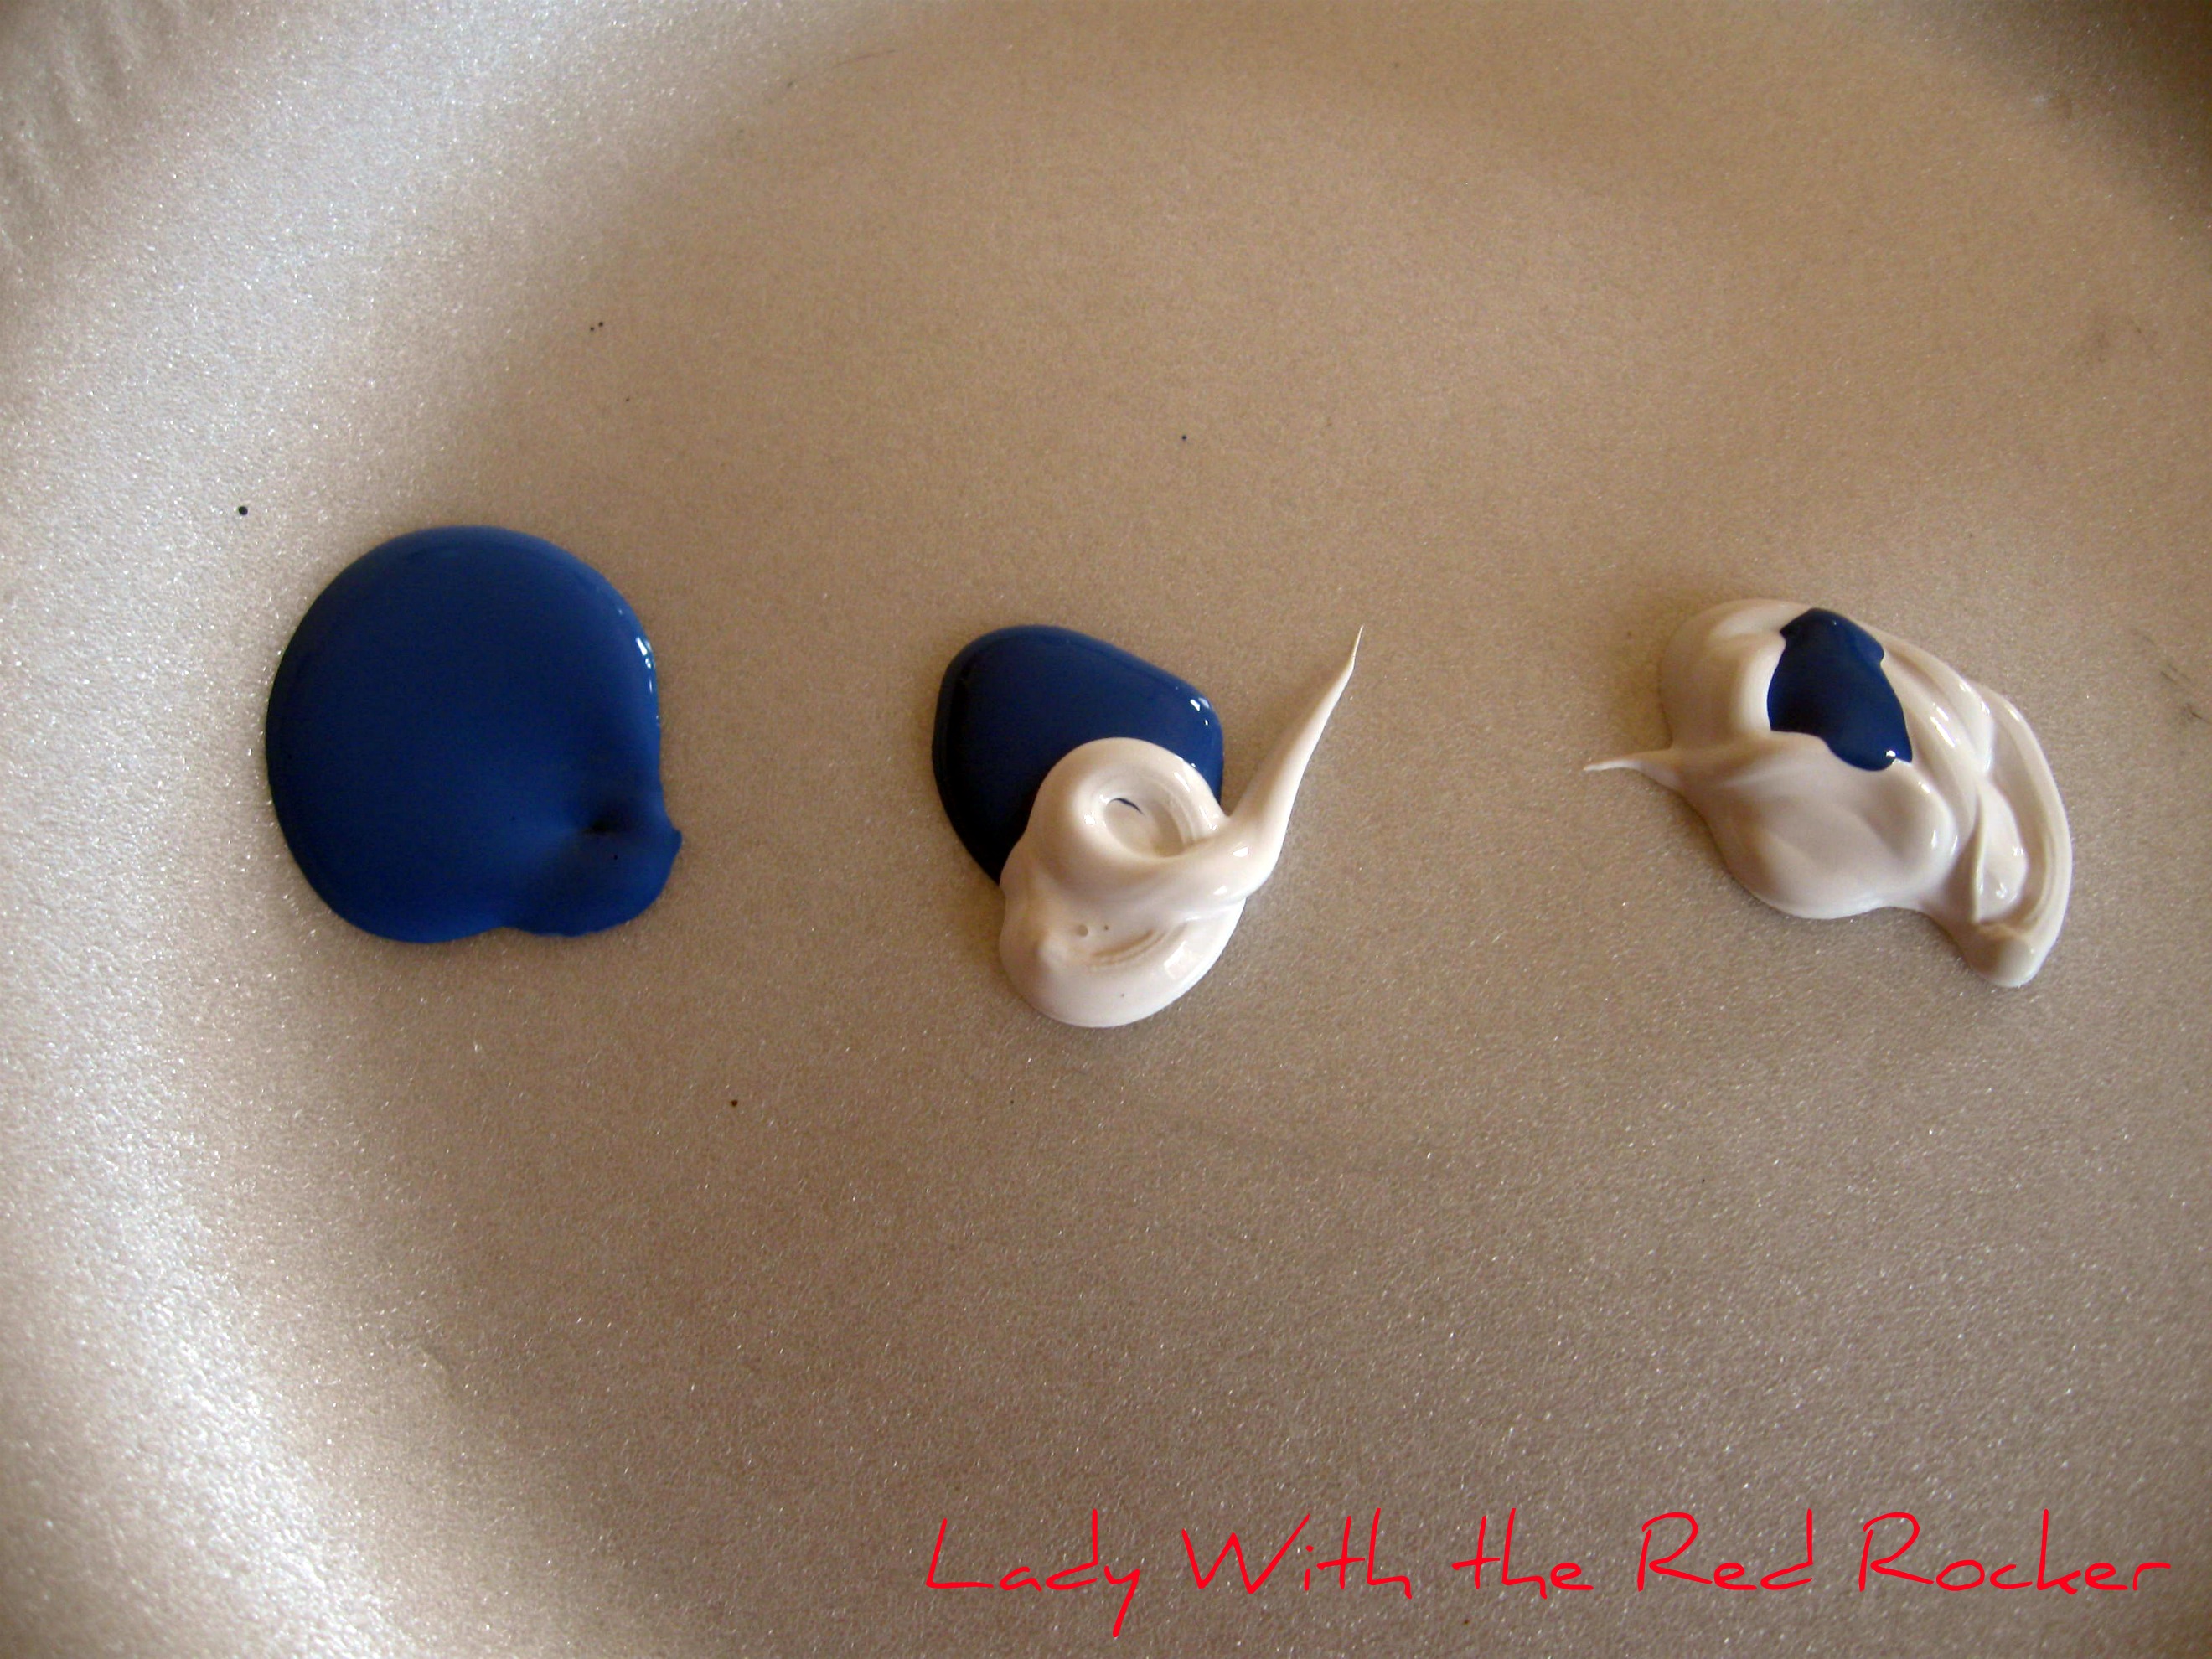
The majority of the picture is of flowers, and they are all the same kind of flower. I wanted to keep the simple look, but just change the color of the flower. I did this by using 3 shades of blue acrylic paint - dark, medium, and light. I'm a visual person, so here's a picture...

PS. Be sure to mix up as much paint as you think you will need, 'cause it's hard to try to match it later. (Not that I know this from personal experience... *wink*wink* ;))

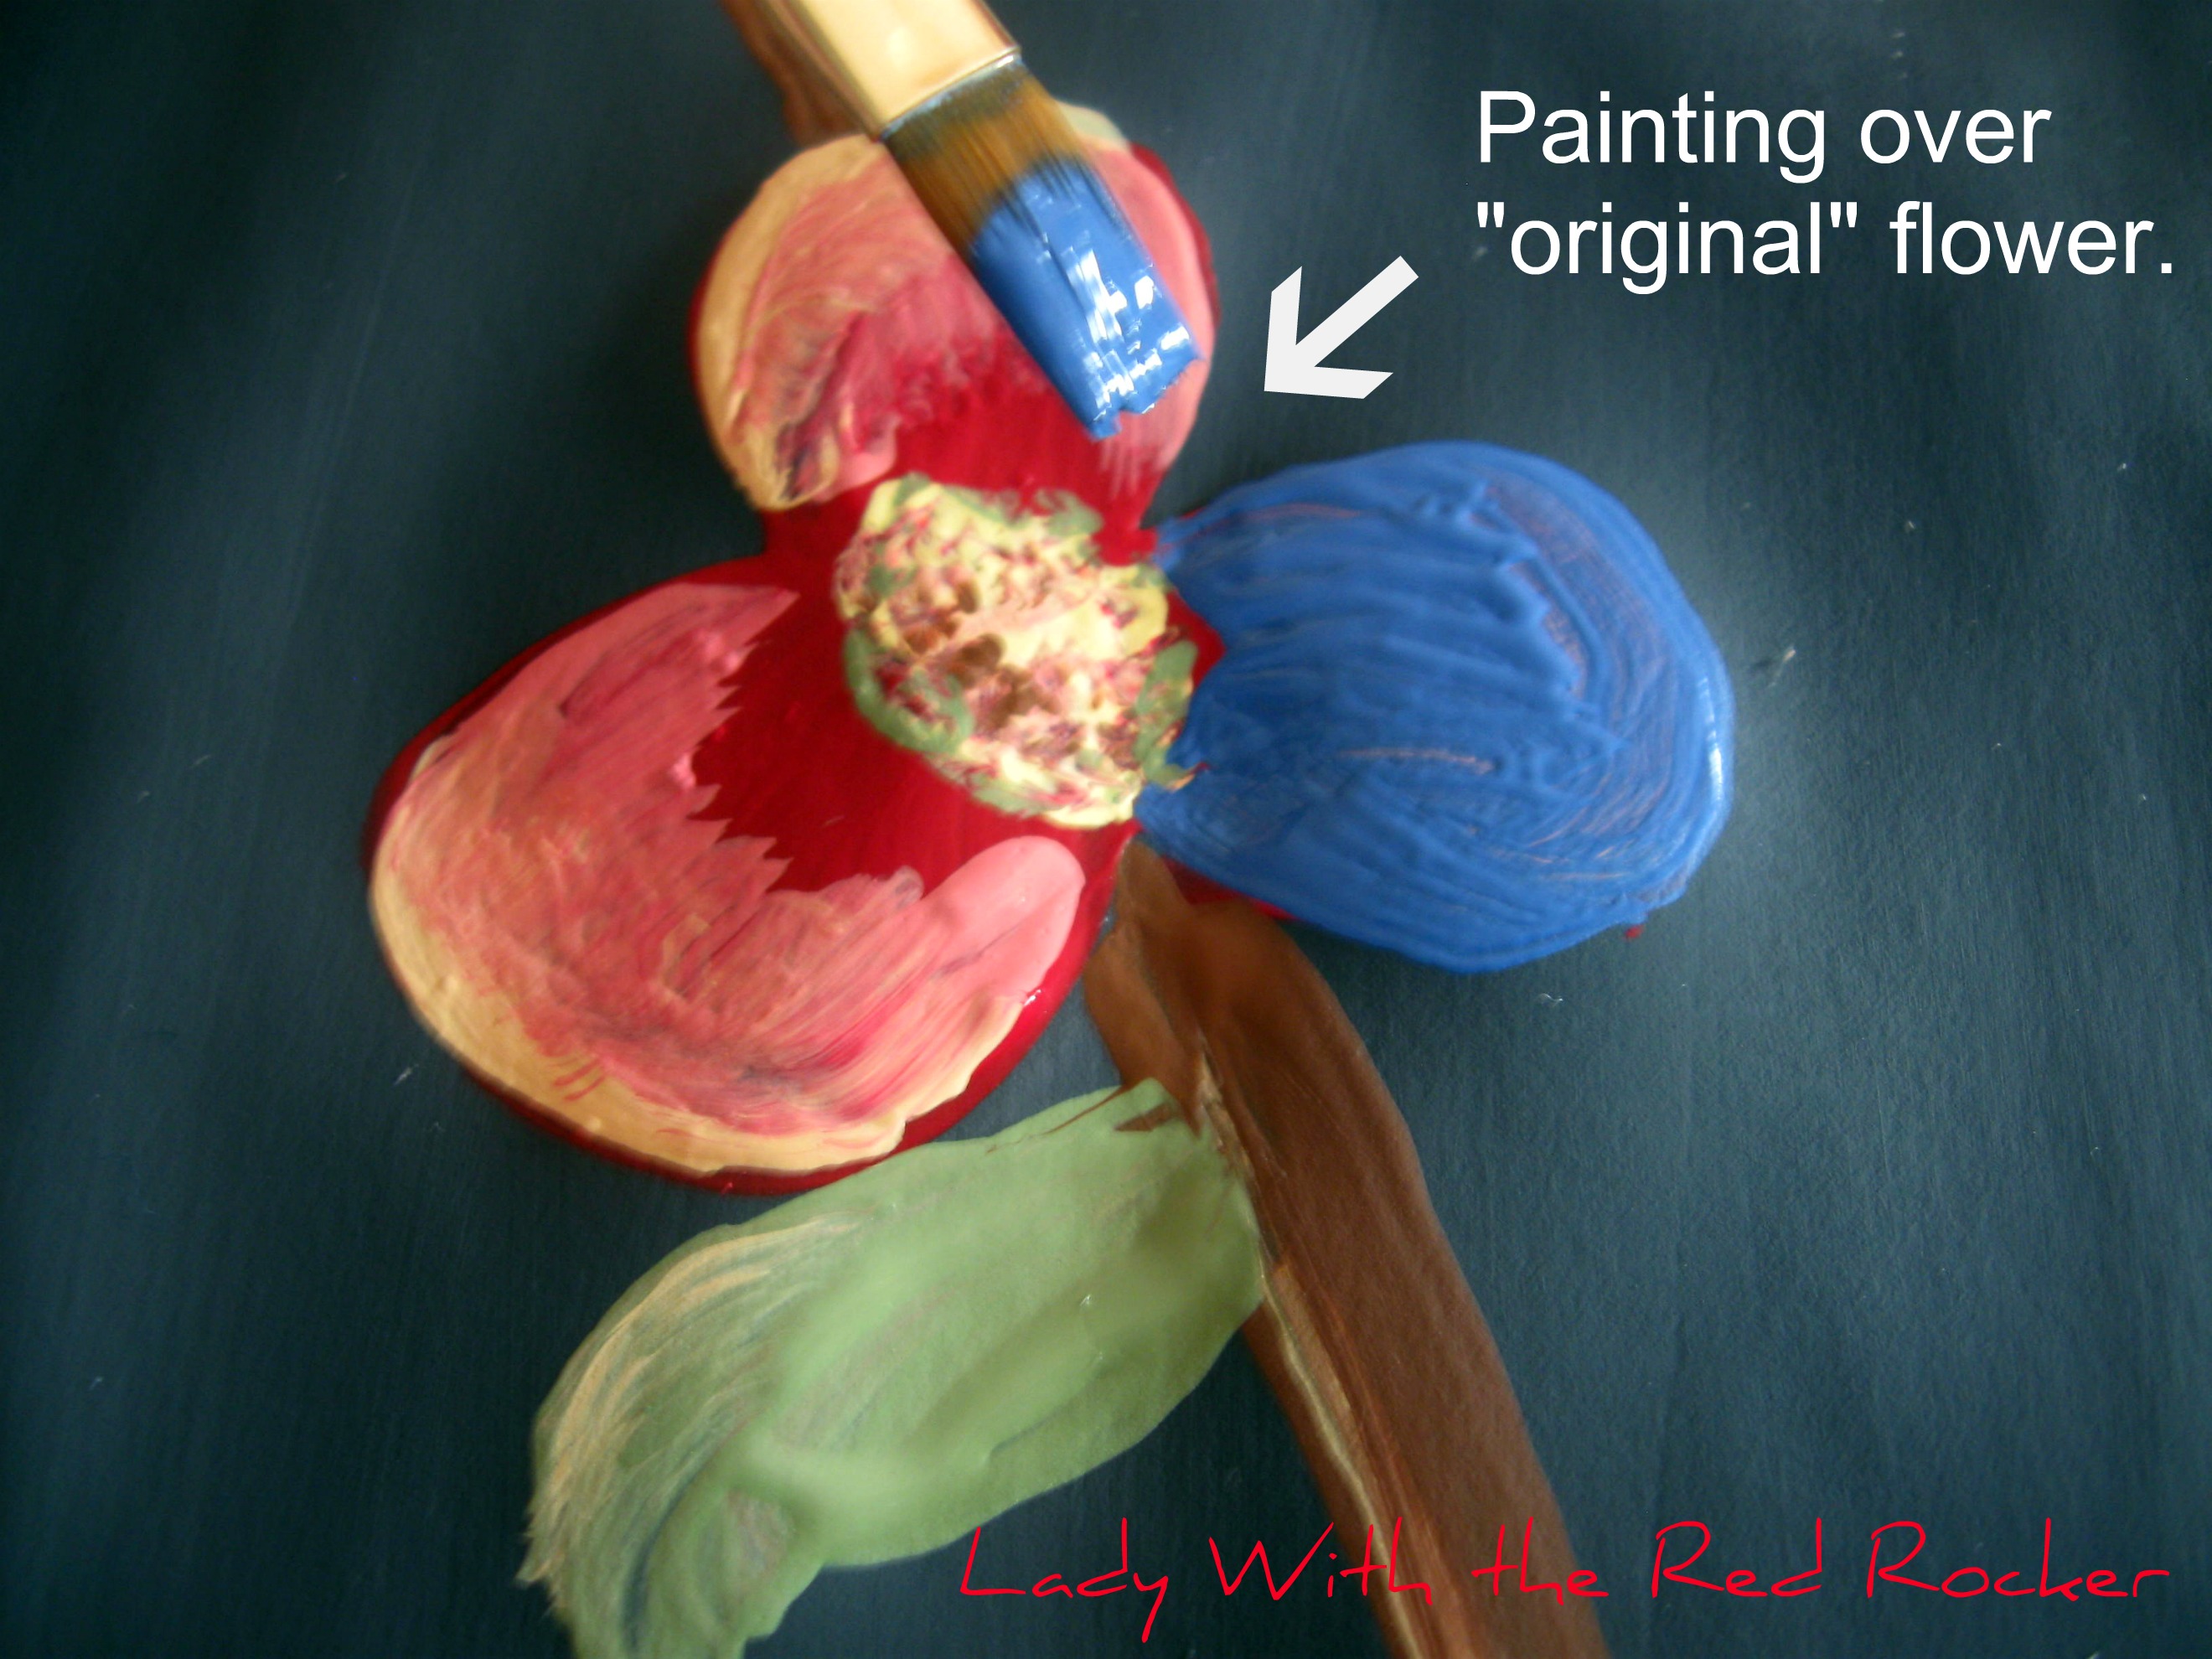
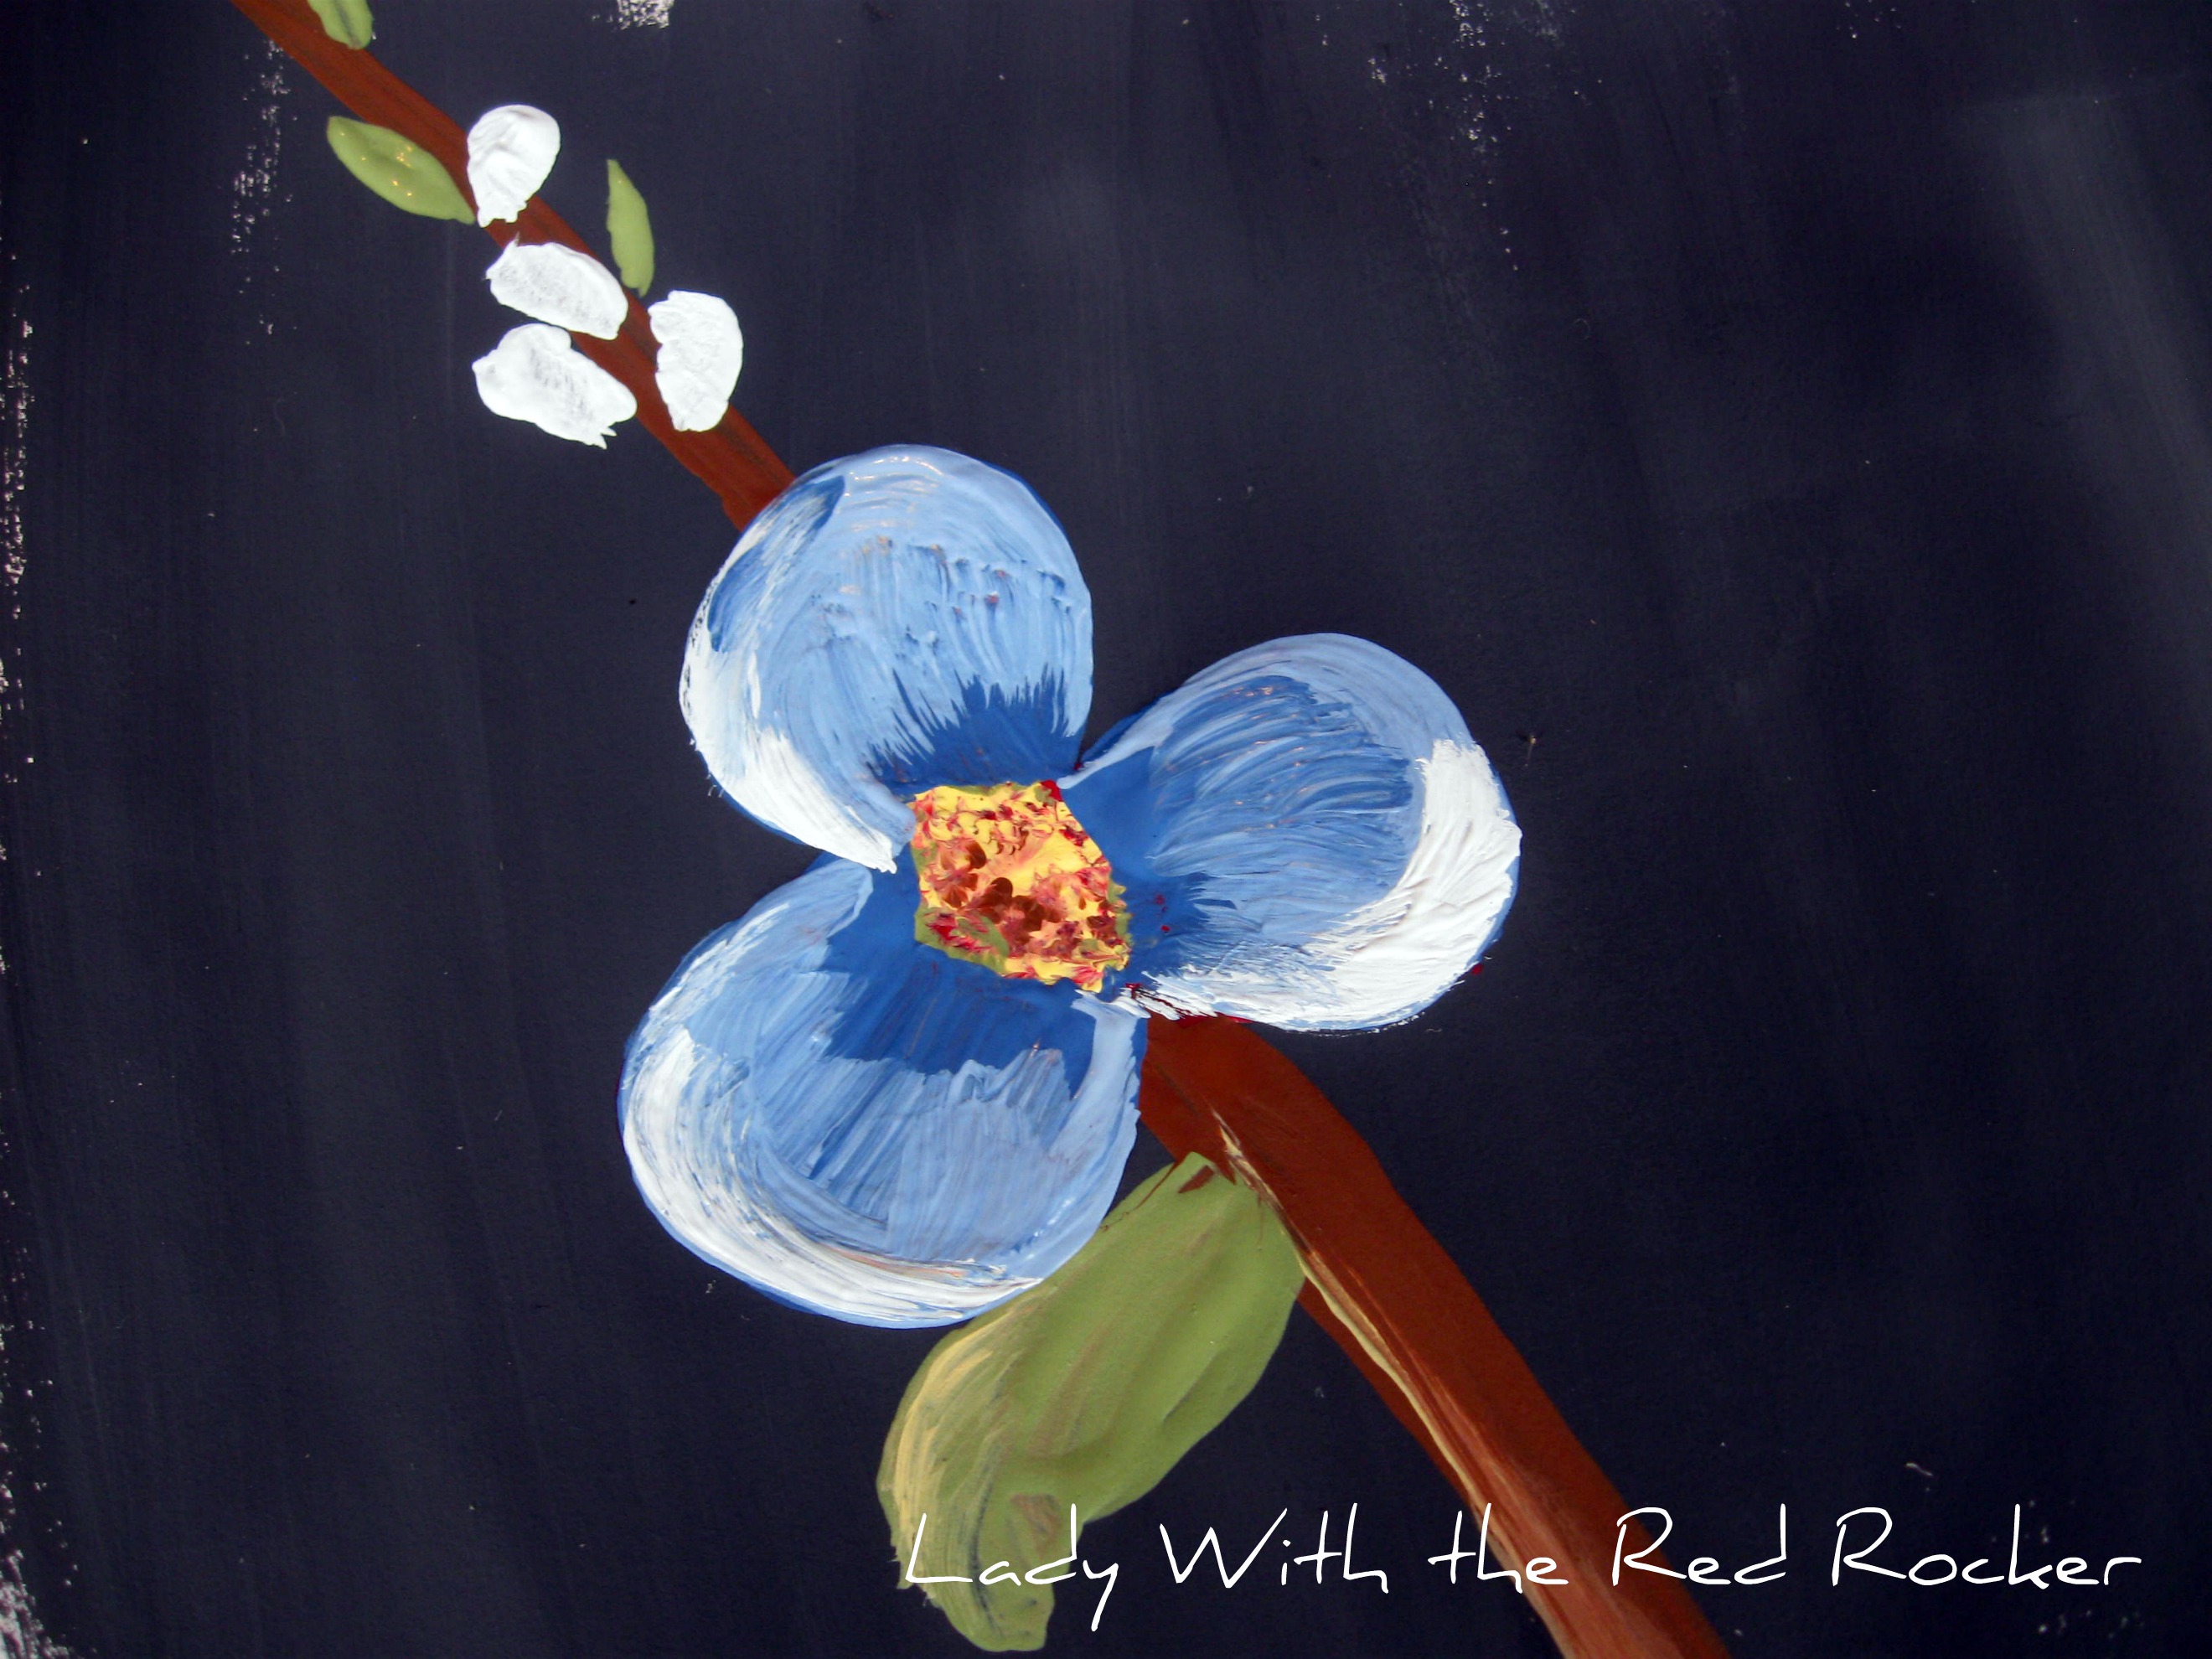
Then, I began painting the flowers. Using the original flowers as a guide, I painted over the petals with my darkest shade first. After that, I painted the center with a yellow color and allowed it to dry. (I forgot to take a picture of this step, so I re-created it on paper. I'm a nerd, I know. ;))

Next, using the medium color, I painted the petals about half way down over the dark color , and allowed it to dry. Finally, I used the lightest shade, and painted just the edge of the petals. Here is what the flowers looked like when I was finished...

For the leaves, I used a moss-green over the original, and I added a few more leaves throughout the picture.

I used a medium brown color to paint over the original twigs. I also dabbed some brown and green in the center of the flowers to give them some more detail.

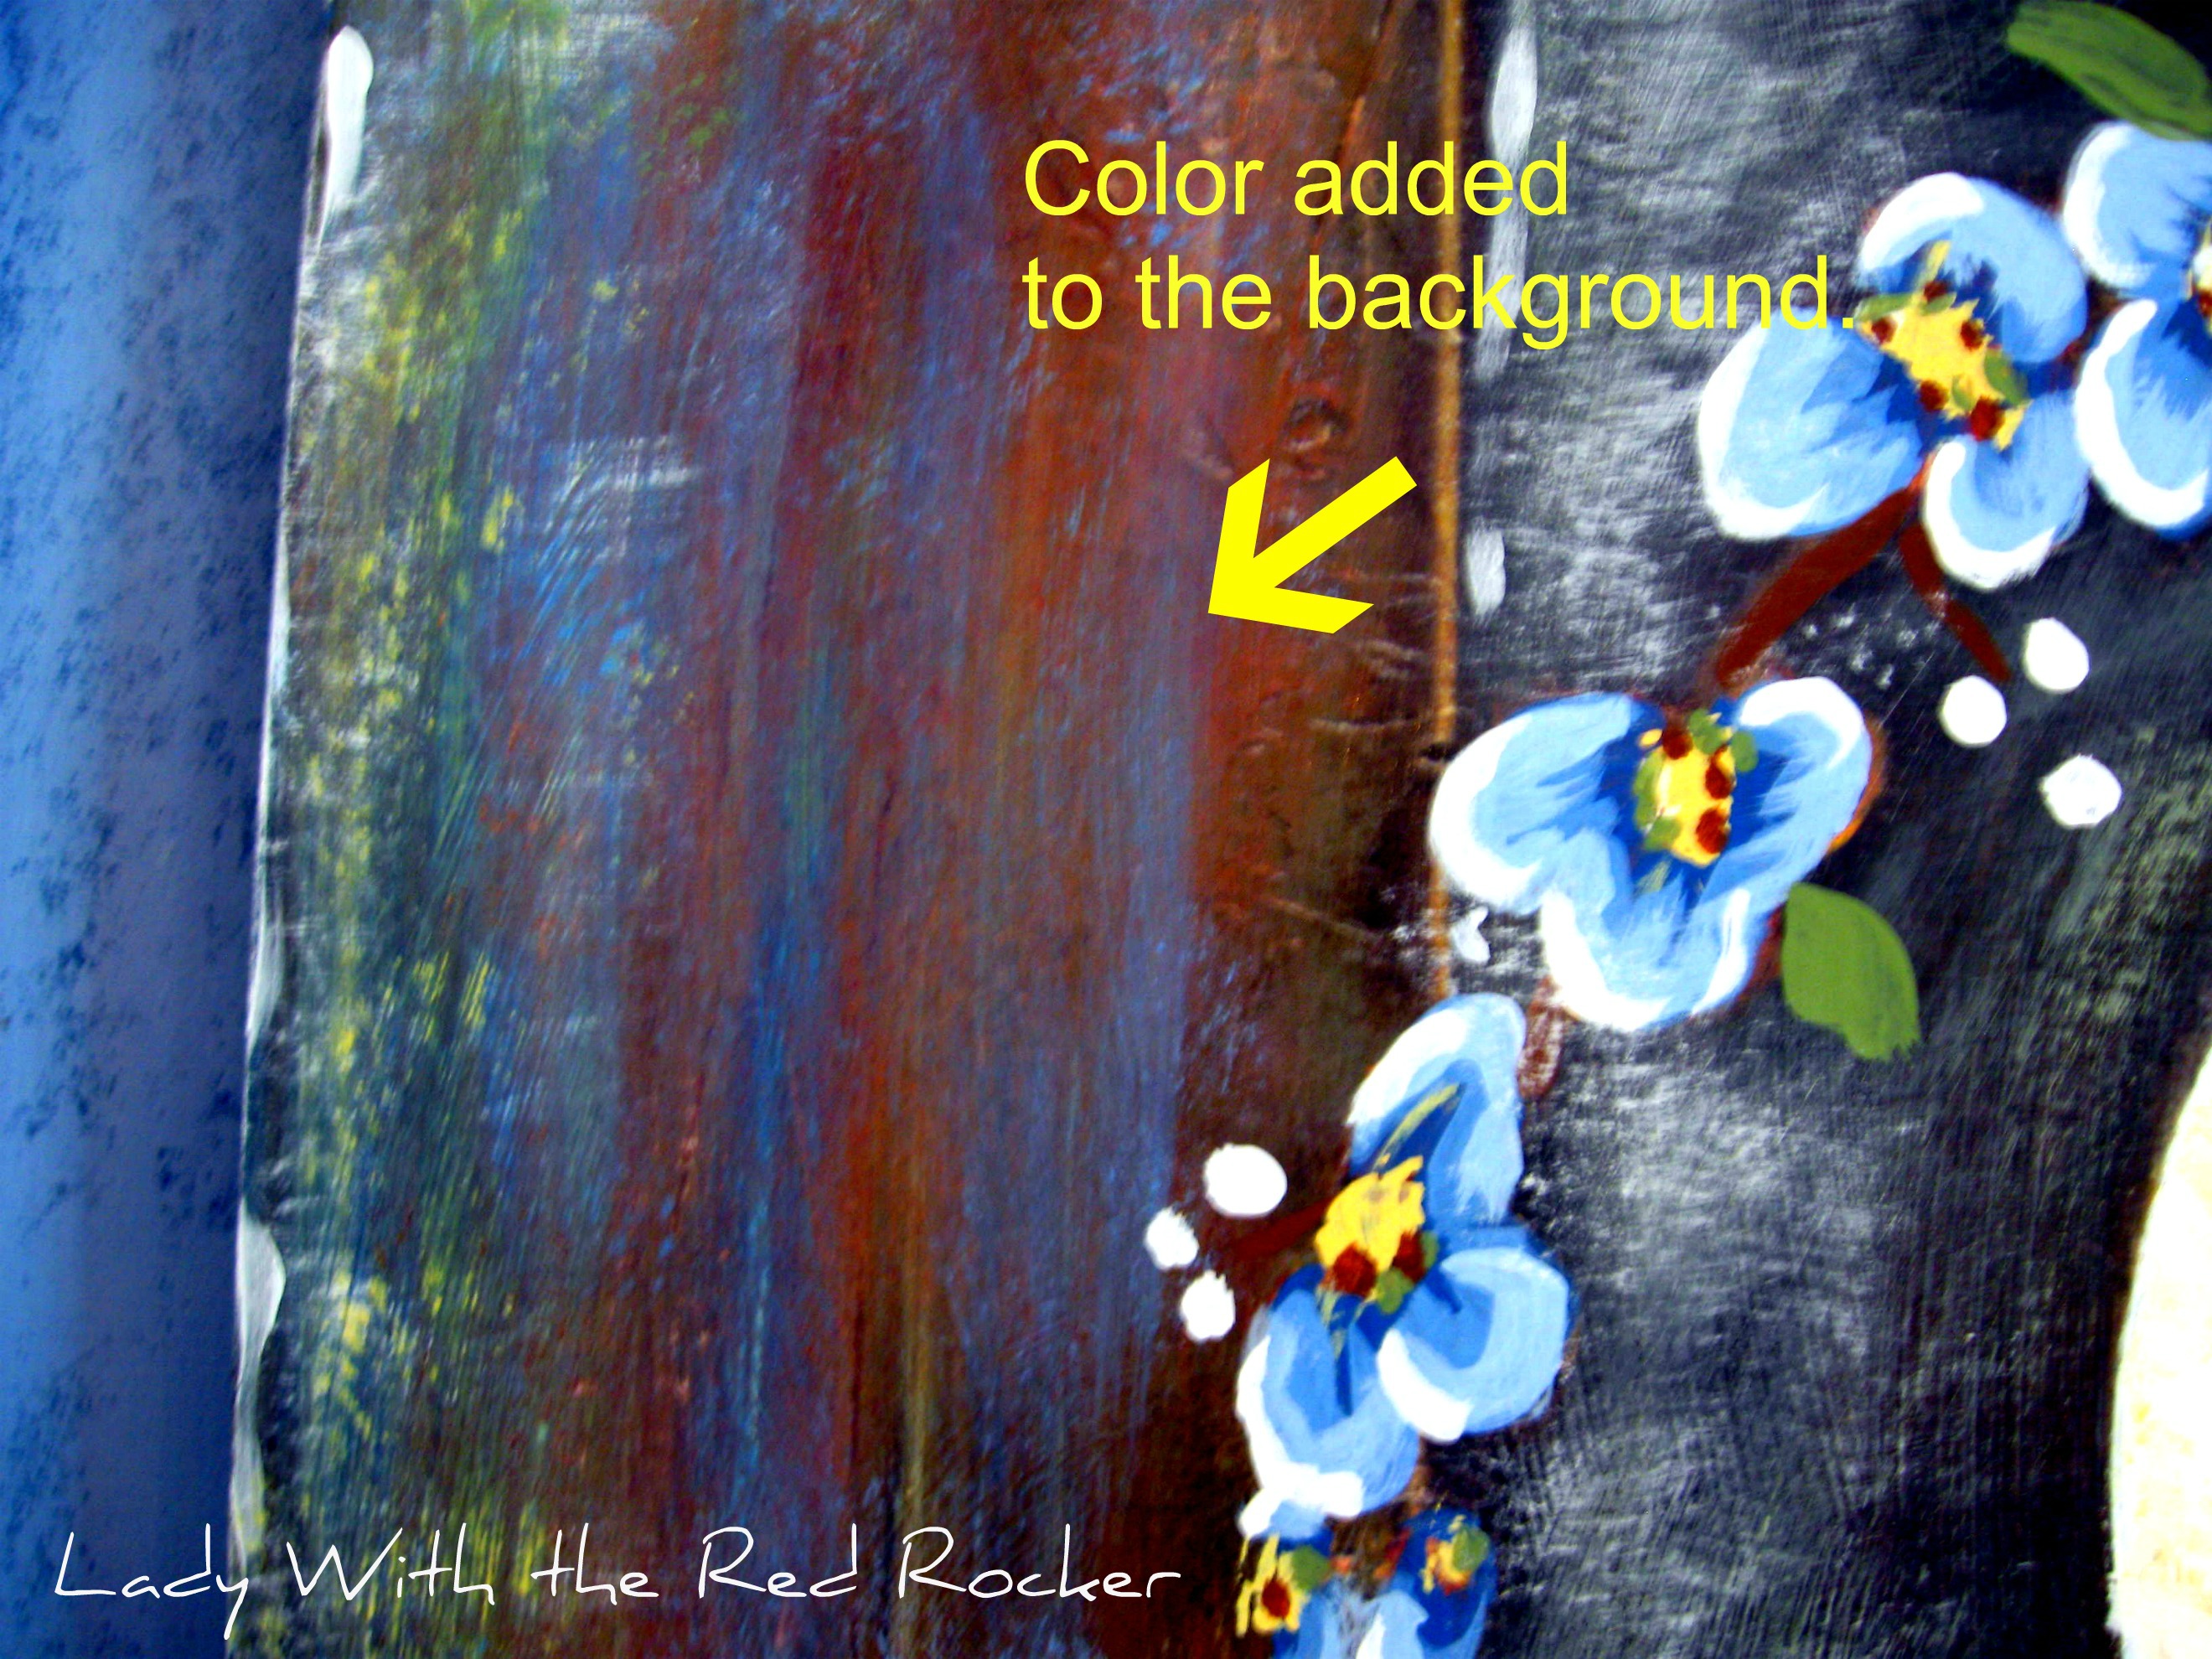
Taking the same colors that were used for the flowers, leaves and twigs, I lightly dabbed and blotched those colors into the background of the picture, just enough to bring out the new colors that I added to the picture.

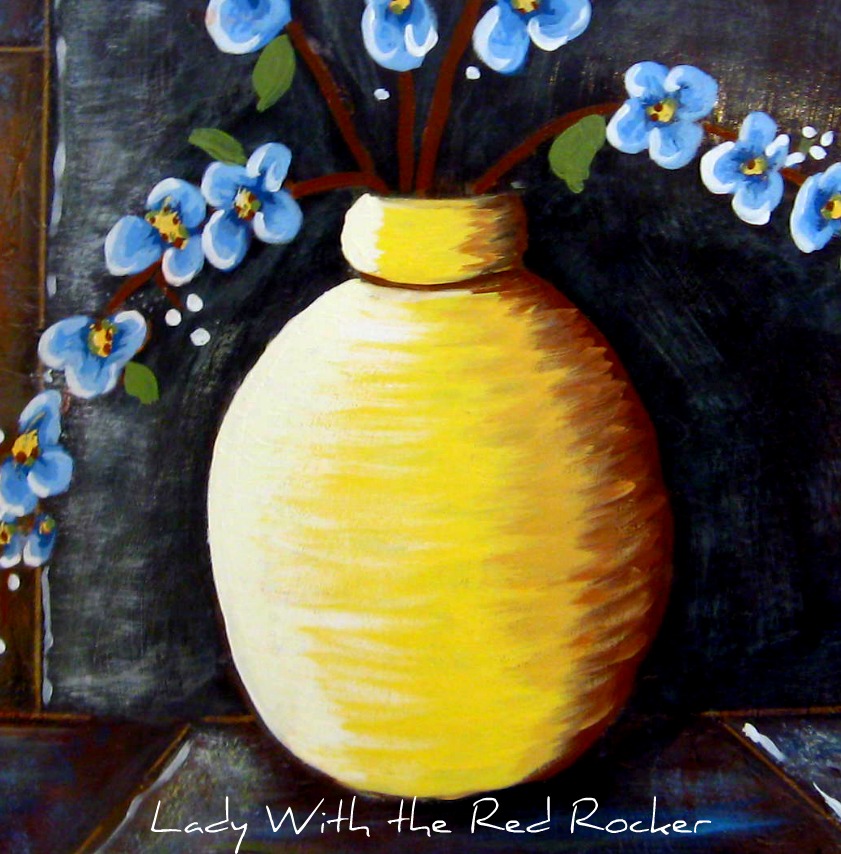
I also painted the vase yellow to match the new pillows...

and, the background mat blue...

The coppery color of the inner frame had to go, and I thought silver would be a nice compliment to the blue in the picture. (If in doubt, go with silver, I always say. :))

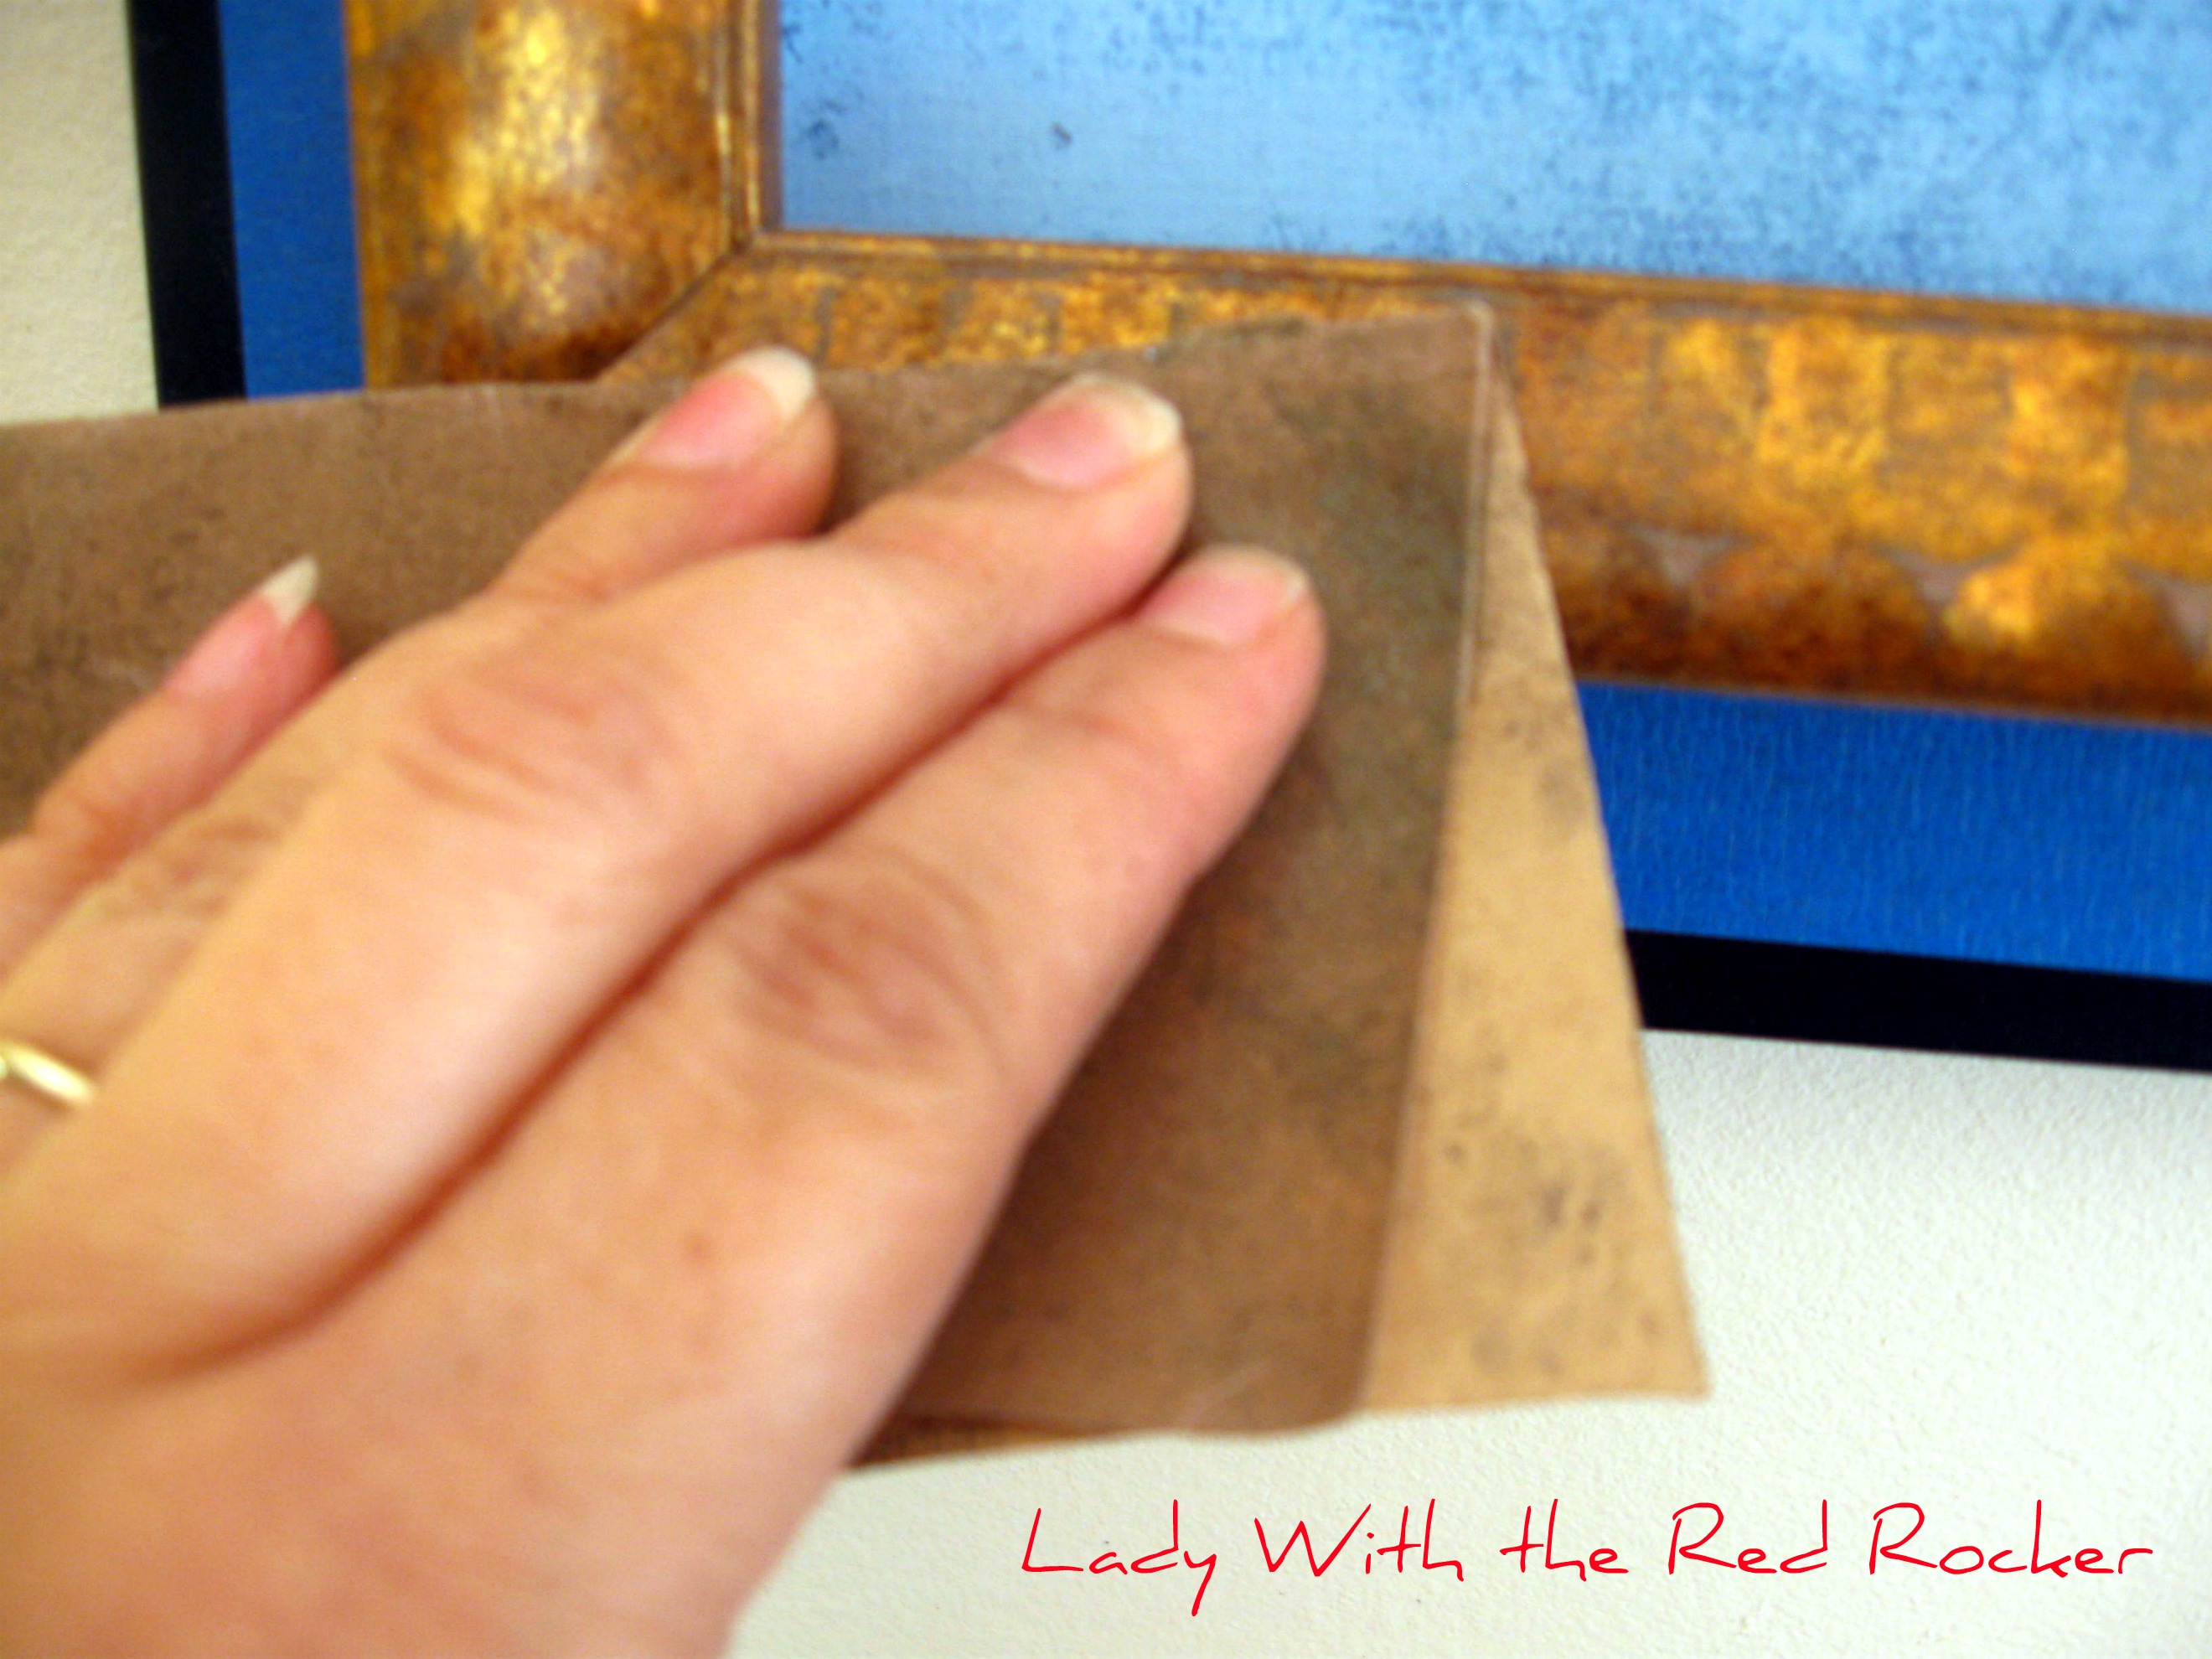
I taped off the black frame and lightly sanded the copper frame.

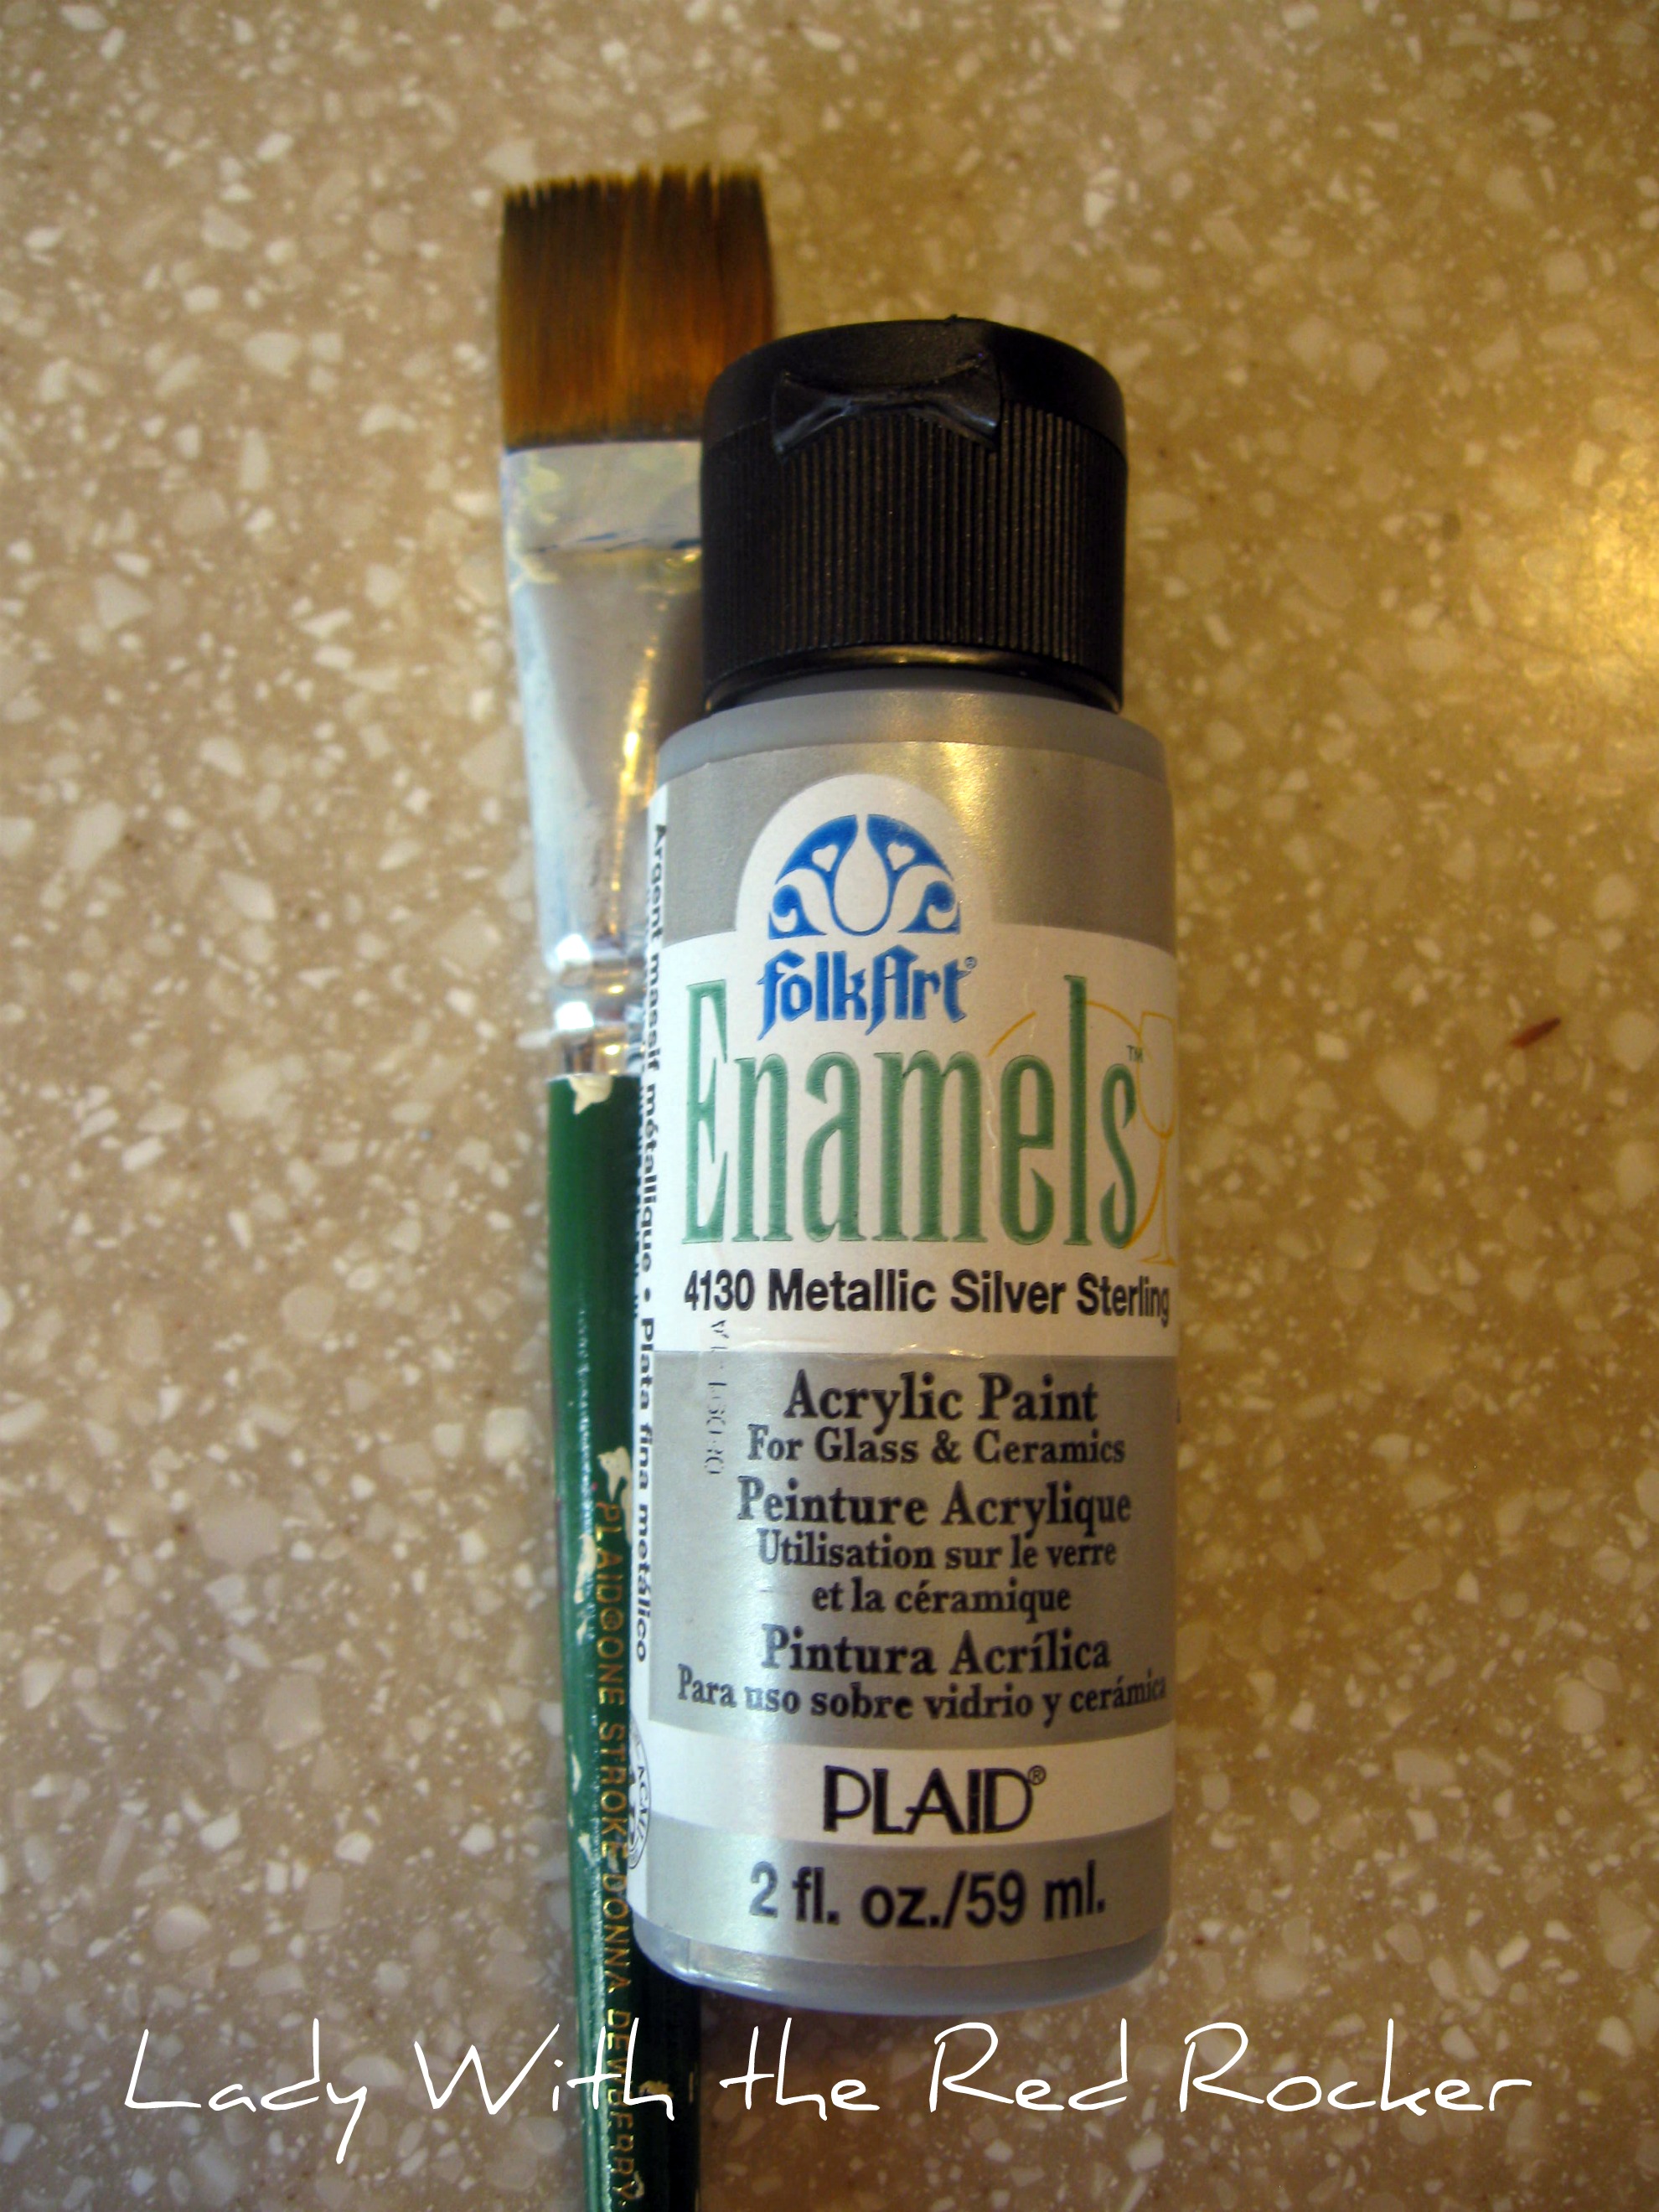
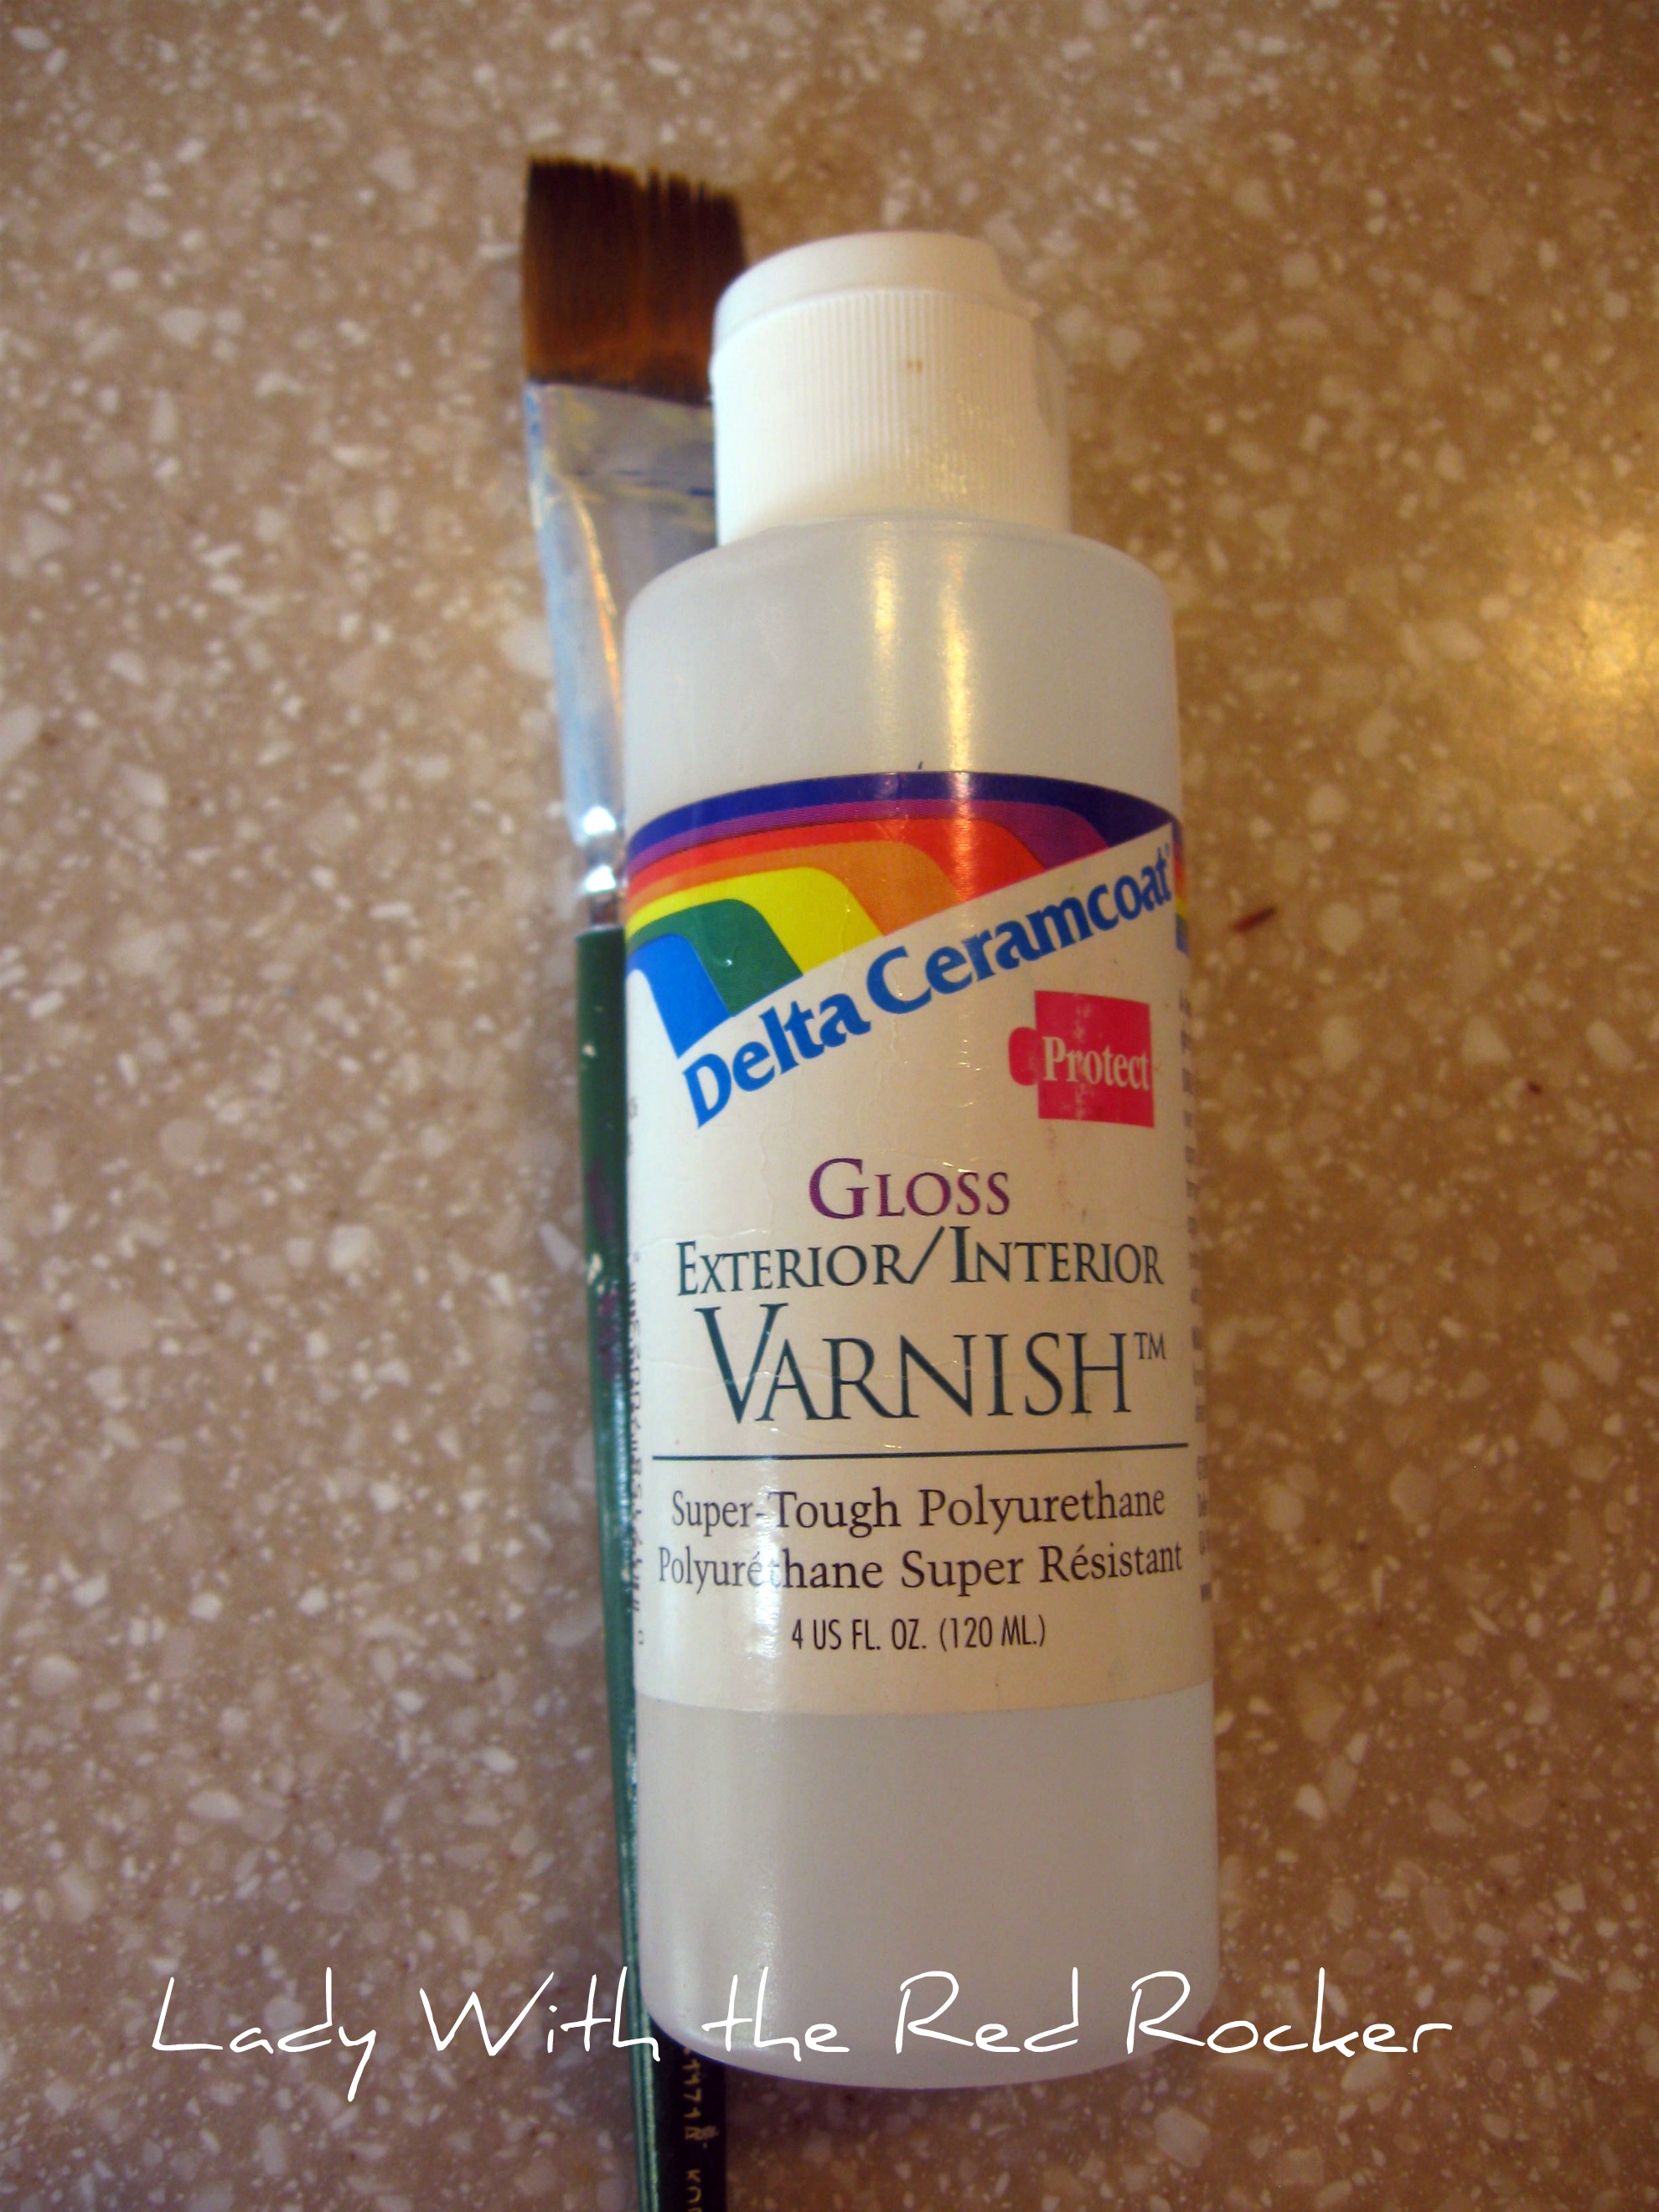
Then, I painted the inner frame with dark silver. (I just added a little black paint to the silver paint, to make dark silver.) Here is the silver paint I used...

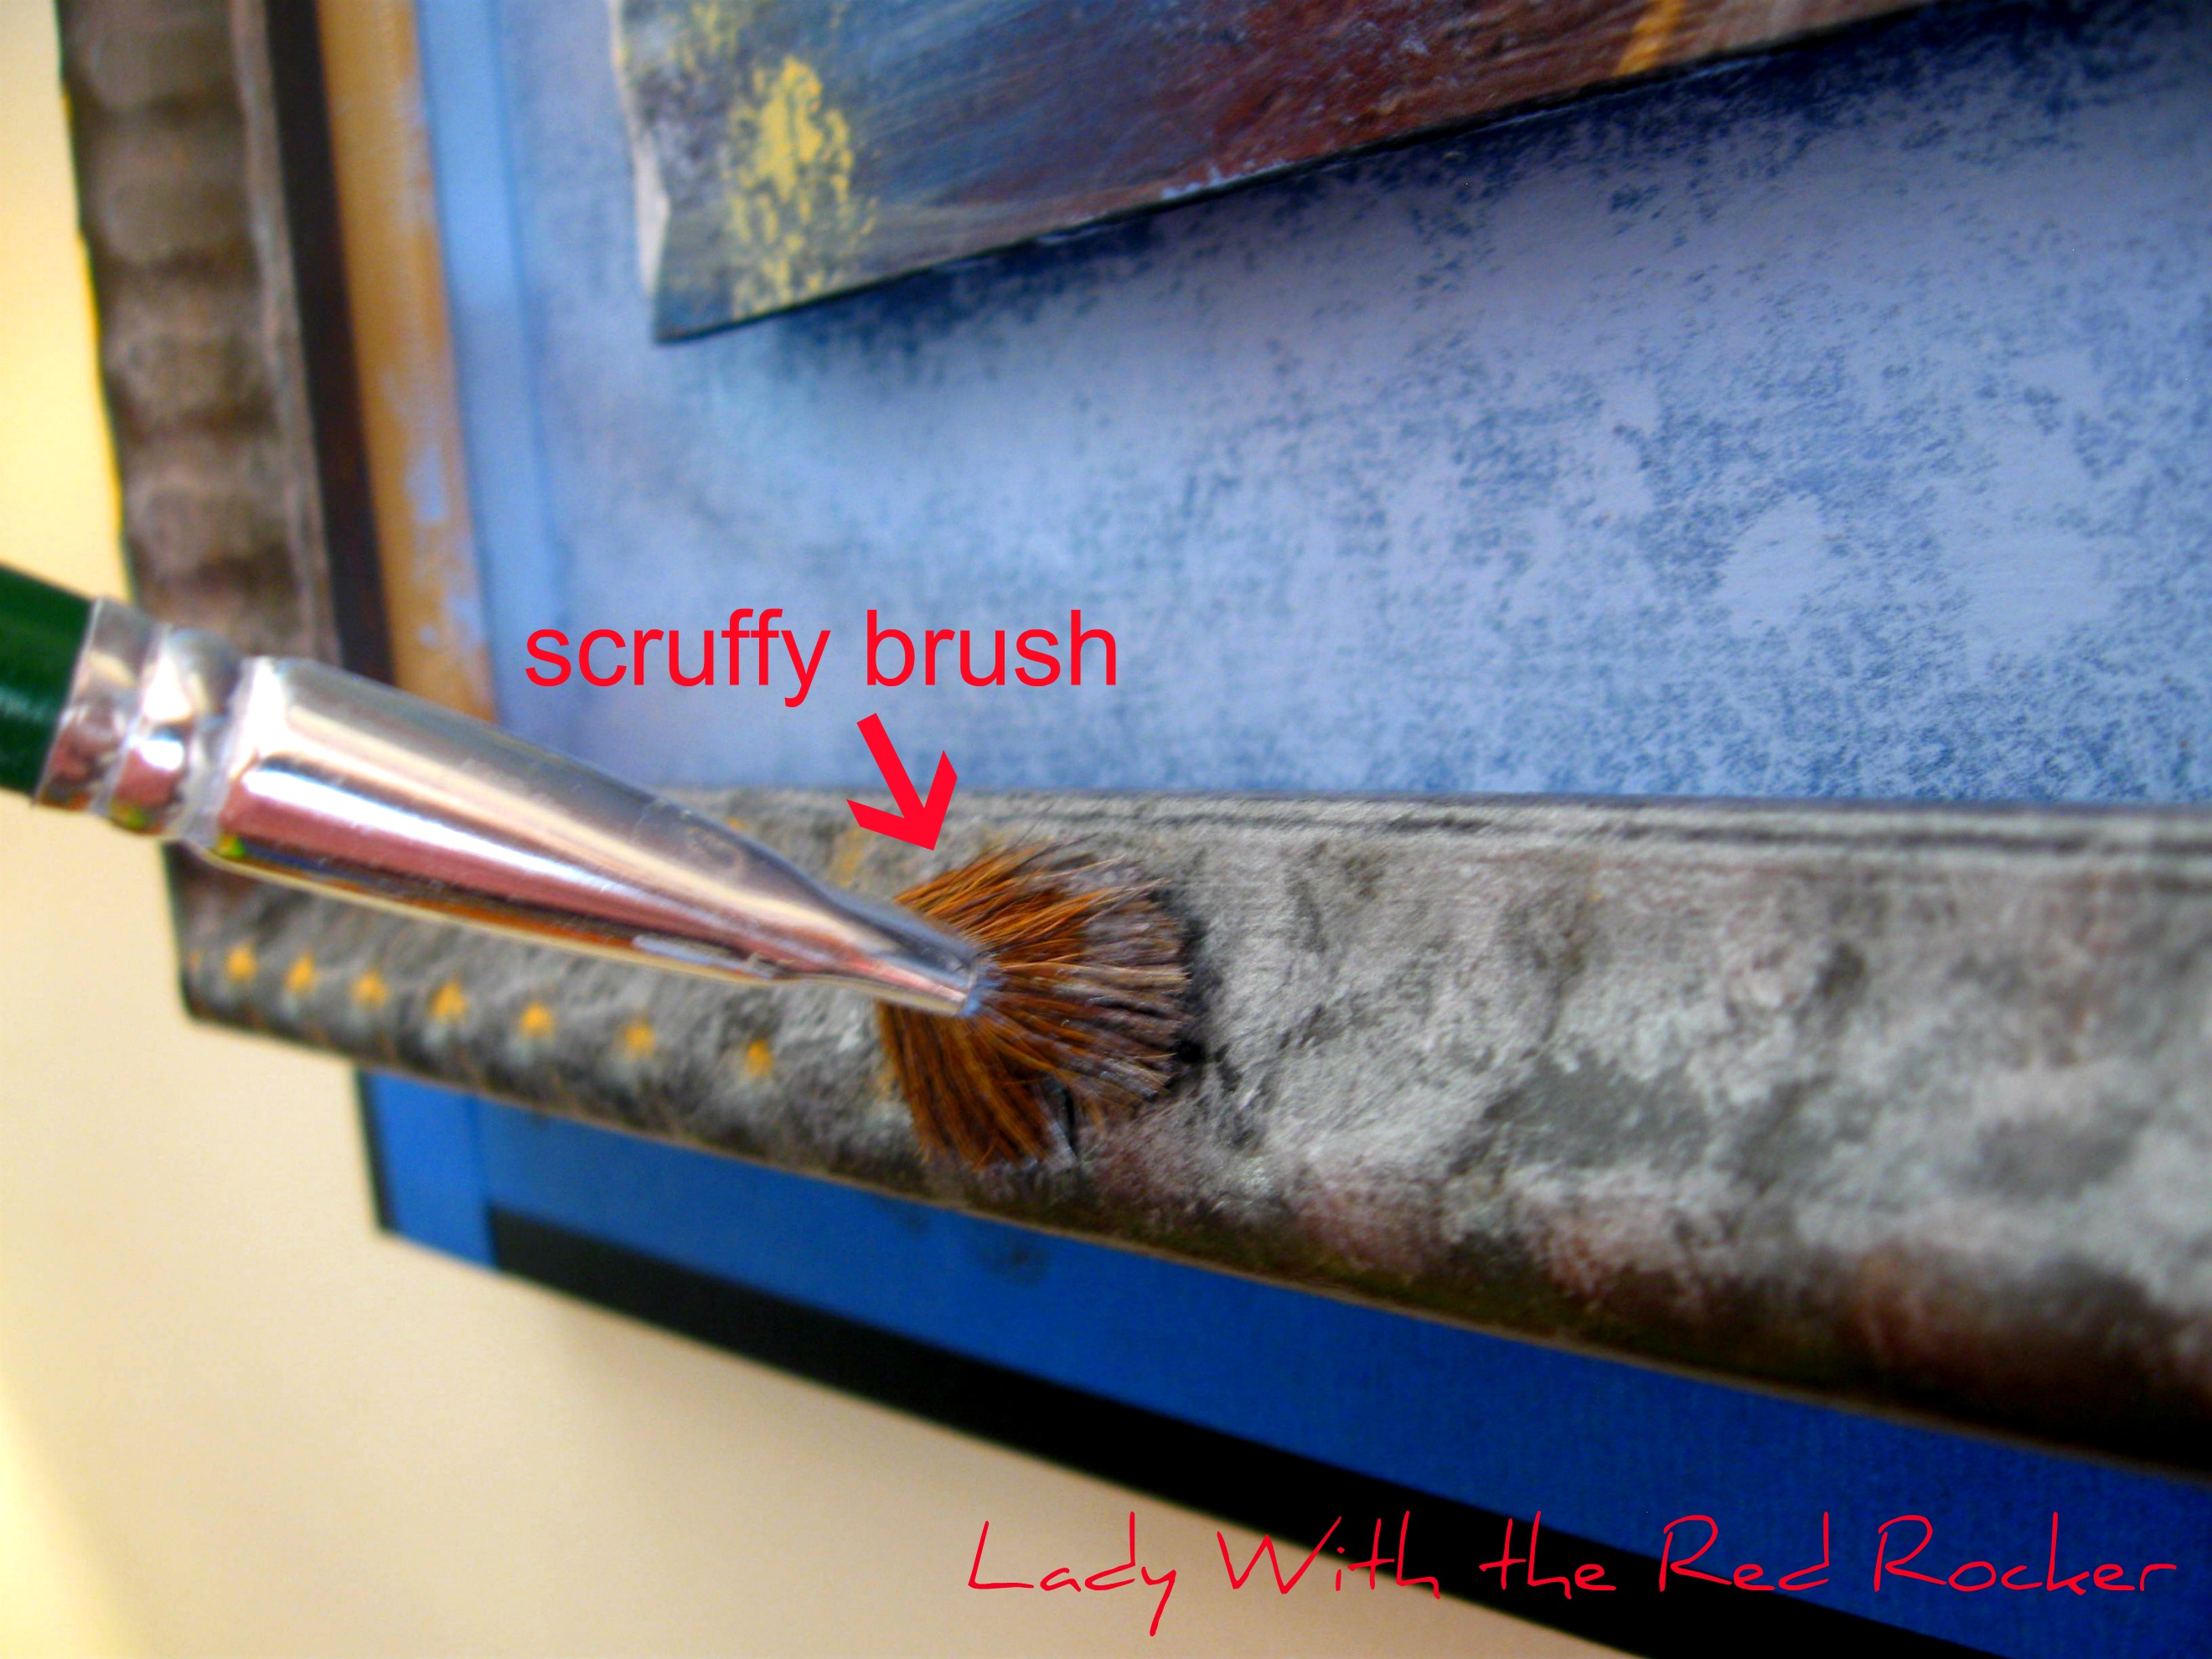
Using my scruffy brush, I blotched on the lighter silver paint over the dark silver until it looked like it had been antiqued.

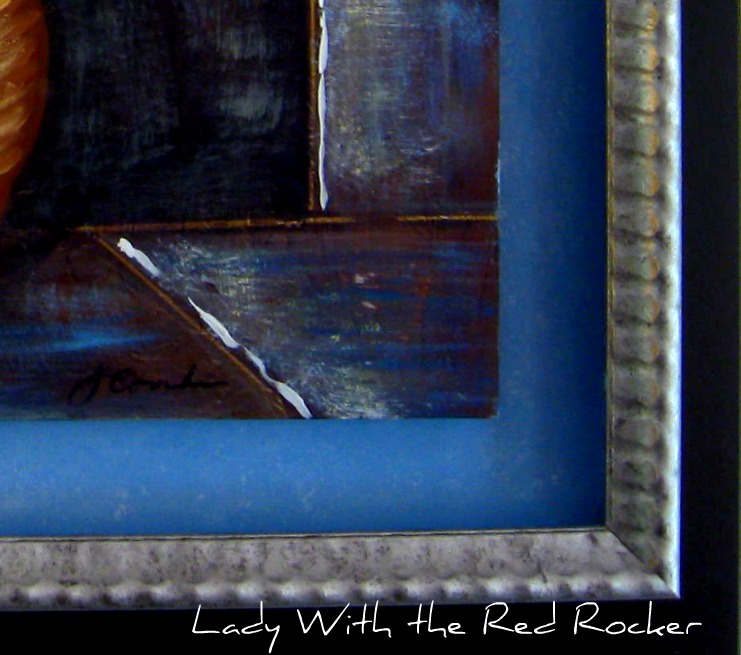
Since I waited to take off the tape until after the paint was dry, I scored the edge with a knife, to make sure that the dry paint did not peel when I took off the tape. (Um... yes, I did use a regular kitchen knife to do this... What!?)

I finished the painting by applying a clear varnish to seal everything.

Here is the final product...

A fresh new picture to grace my wall, all for the price of a little paint. Love it!

Thanks for letting me share with RoCa and Company today!

It was a blast! :)

November 01, 2011

You Rock #7 Features

Can you say WOO HOO!?! We had 82 FANTASTIC project link-ups last week. 
All of  them are very creative in every way...thanks for all of you who linked up and shared your inspiration with us.

Here is the most viewed link-up that ROCKED IT last week....
This scrumptious Toasted Peanut Butter and Banana Sandwich
by Joyful Homemaking. OMGosh! Are you kidding me? No wonder it was the most viewed link last week...who can resist this combination of flavors? I am so making this for the kids in the morning. 

My favorite three projects were:

This Knot Just Any Old Necklace by Cass Can Sew.  Simple and super easy to make...and I love the polka dot ribbon and how nicely it goes with the floral fabric.

Next is this Wedding Stitchery that Adventures of a DIY Mom made for her cousin who recently got married.  What a great wedding gift.  Check out the tutorial...there's a free pattern if you want to make your own. 
  
And last, is this tote bag by tousled day. This bag is a labor of love...really...it was made by hand..every single stitch.  And it was also a learning experience in many ways for Marija.  

So there you have it...4 terrific projects from 4 very different crafters.  Thank you to all who linked up last week...make sure to come back this coming Friday so we can continue to Make and Create together. If your project was featured, make sure to grab your button.


<div align="center"><a href="http://www.rocaandcompany.blogspot.com" title="roca and company"><img src="http://i55.tinypic.com/309lhg8.jpg" alt="roca and company" style="border:none;" /></a></div>


Every once in awhile...

our kitchen table looks like this...
it just happens when my kids get into "craft" mode...
sometimes they end up like this...
and when they let their imaginations go wild...
Samantha and Joshua's Pet Rock Collection 2011
they make and create...
Joshua's                  ~Fabric Paint Mix~               Samantha's
and I'm bursting at the seams with love, joy and pride.

Related Posts Plugin for WordPress, Blogger...