Showing posts with label t-shirt. Show all posts

October 30, 2011

Canalis Shirt Tutorial

Lately I've been on a kid shirt redo kick so I decided to take a break from that and make something for me...finally, something for this Mama...
and, yes, it's another tshirt refashion.
It reminds me of tube corals on a shirt...
and that is why I named it Canalis which is Latin for "tube".
You will need two of the same color shirt; one shirt needs to be one size larger than what you normally wear.  Take the other shirt, fold in half - hot dog style and fold in half - hot dog style, again. Cut it into strips like this:
You will end up with lots of tshirt  loops...cut your loops in half at the seams...you want to take off the seams and then pull each strip till it curls up...do this to each one.
Now take the larger shirt and cut right at the seams...from the bottom of the shirt all the way to the end of the sleeves. You want to open up your shirt completely so that it is easy to sew on the strips of from the other shirt. 

Now start sewing your strips onto the front of the shirt, beginning from the neckline and work your way around the neckline and then start filling down and across...just take one strip and begin sewing and fill up the front of your shirt in any pattern you like. If a strip is too long, just cut it and use elsewhere on the shirt.  Use up as many strips as possible to get it to fill in nicely. Since  your shirt is opened up, you can sew on strips even over the seams at the shoulders and onto the back of the shirt...Have fun with it...Just be careful to sew down the middle of each strip and make sure that the curled up part doesn't get caught with the needle...
like this...but if it does, just stop, put your needle up, release the foot and gently tug and snip off the thread until the shirt is free again 
Once you've filled up the front of the shirt with lots of tshirt tubes, turn the shirt inside out and line up the sides again, pin and sew up again...once with a straight stitch and a second time with a zig-zag.  
And you're done
Once you wash it, the tubes will curl in more...if you end up with some strips that don't want to curl up, just take your scissors and cut across the length of the strip about half ways and they will curl up for you.

October 22, 2011

3D Flower Tee Tutorial

Sometimes I tend to take things just a little overboard...as a case in point, just look at what I sewed for Sam the other night...
see what I mean?  A humongo 3D beaded flower appliqued tee.  

Sam and I L.O.V.E. how this shirt turned out. We both especially like how the wavy petals and leaf give the shirt dimension.
Want to make one? 
But first a disclaimer: I want to apologize for not taking enough pictures for some of these steps...not only do I tend to go overboard at times but I also tend to forget to take pictures along the way when "crafting". So if you have questions, please email me...
3D Flower Tee Tutorial

I started out with 3 tee shirts: a plain long sleeved thrifted shirt and two patterned tee shirts that I already had.  The floral one should look familiar to you...it's the same as the one I used for this shirt here. The striped one was already in my stash of shirts that no longer fit Sam.

Making the flower applique
1. Cut your tee across at the arm pits.  
Now you should have a tube from the bottom part of the tee.  

2. Cut down the sides of this tee tube. You should have two pieces. Use fusible web to fuse these two pieces together...WRONG SIDES to each other.  

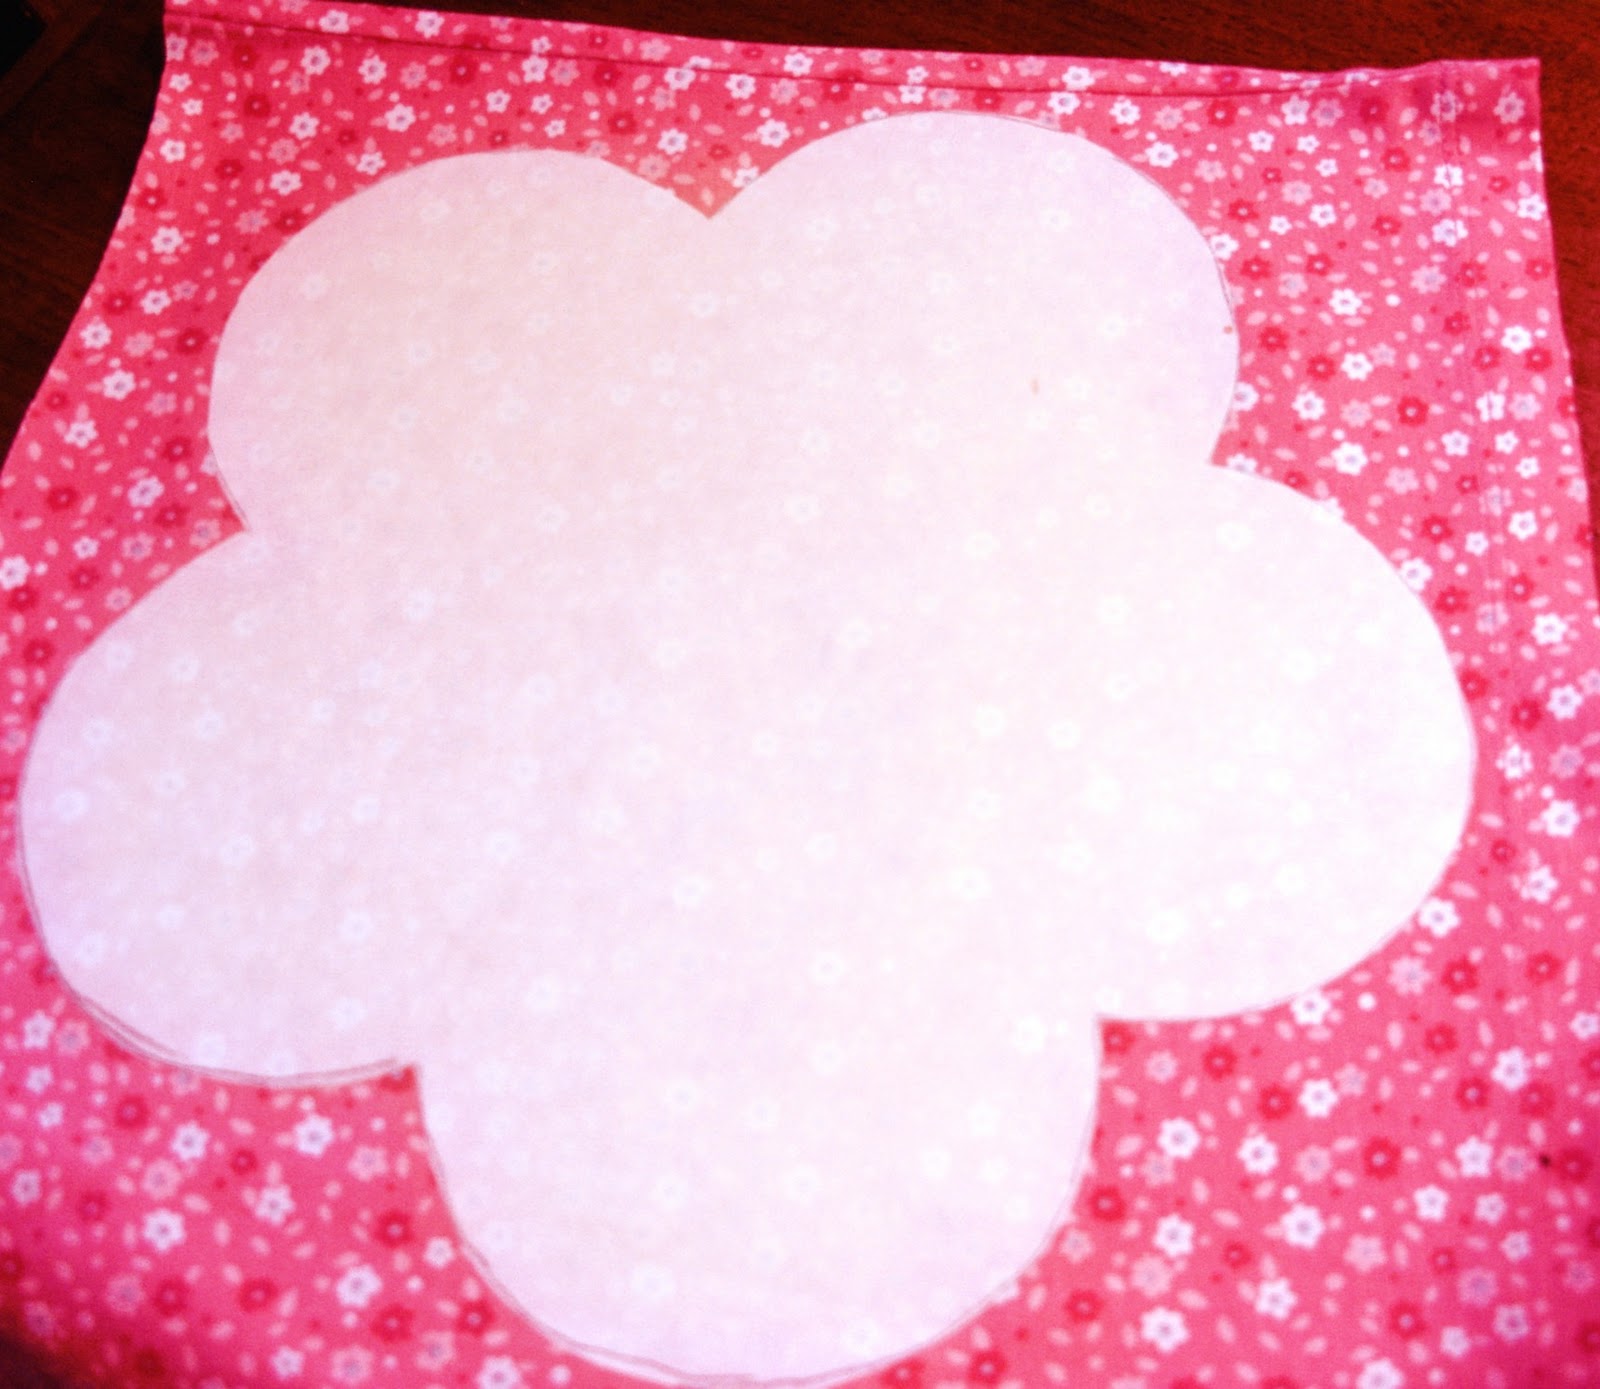
3. Make a flower pattern using freezer paper.  You can free hand it or do like me, find an image on the web, copy and paste to a word document and enlarge...trace your image onto the dull side of the freezer paper.

4. Iron on the freezer paper, shinny side down, onto the fused fabric. Let the fabric cool down and using the outline of the flower, cut out the flower piece. 

5. Now find a plate that is large enough to cover up most of the center of the flower.  Using said plate, make a pattern on freezer paper.  Iron on the freezer paper to right side of fabric and then iron on fusible web to the wrong side of fabric. This circle is only one piece of fabric and not two like the flower part. Once cooled, cut out circle. Now you have the second part to your applique. 

6. Repeat the above process but now use a smaller plate to make the inner circle. Now you should have a flower and two different sized circles.  

Assembling the flower applique 
7. Lay down the flower piece and lay the bigger circle on top, making sure to center it.  Be sure to have the wrong side, the one with the fusible web, down. Iron on that circle to the flower.  Now repeat with the smaller circle.

8. Now that the flower is all fused together, zig-zag around all the edges. Use a tight zig-zag stitch. I used the shortest stitch length and the longest stitch width to get a nice tight zig-zag. I also used the gap on the sewing foot as a guide while sewing the edge.  It works every time.  
9.  Sew on beads if you want.  Since this fabric had small flowers with a blueish center, I just sewed on a bead at each of the blueish centers.
10. Use freezer paper and draw out a stem and leaf. Follow the steps 3 and 4 to make, cut and fuse the stem to your shirt.  
Once fused, zig-zag the edge of the stem to the shirt.
11. For the leaf, follow step 2...it needs to be double-sided. Zig-zag the leaf edges. Pin the leaf onto the shirt and sew a straight stitch down the middle of the leaf onto the shirt.
12. Now position your flower onto your shirt. Pin it securely and
 sew a straight stitch right along the inner edge of your zig-zag stitch. Again, use the gap on your sewing foot to guide you.
*Make sure to alternate your fabric patterns when cutting out the flower, circles, stem and leaf so that your shirt has a contrasting pattern to it. 

This has been the hardest tutorial I have ever written because of the lack of photos, but I hope it made sense to you.  If not, please just email me and I will try to clear it up for you.  


October 15, 2011

Butterfly Love Shirt

I love the look of a faded graphic t-shirt especially when it's personalized for my girl. 
Purple? Check. 
Butterflies? Check. 
Glitter? Check. 
Super long lashes? Check.
Last week, Happy Hour Projects had a great tutorial on  how to make a graphic using freezer paper and bleach. So using that tutorial, I made this shirt and took it a step further... x 3.

I started with a regular purple shirt.  I traced the butterflies onto the freezer paper, cut and ironed onto the shirt. I purposely ironed the butterflies over the sleeves...
I lightly sprayed bleach onto the shirt...just enough to get the fabric wet...and by total accident, a couple of drops of bleach fell onto the bottom of the shirt...in the end, it worked in my favor. Make sure to insert cardboard or plastic bags into your shirt to protect the back of the shirt...you don't want bleach to stain that part.
When it was dry, it looked like this
When I removed the butterflies, it looked like this...see how the accidental drops of bleach worked in my favor...looks like butterfly dust as they flutter about.
I liked it but it was missing something...so then I did this...using freezer paper, I traced and cut out the word LOVE.  Ironed on the stencil and proceeded to paint the letters using several fabric paint colors. I painted and blended in the colors over each other.  Once the paint was dry, I went back and repainted the letters again using fabric glitter paint.
Then it looked like this...I forgot to take a picture of the shirt without the hearts, but basically, the shirt still looked too blah at the top.  So I drew and cut out heart stencils using freezer paper.  When I ironed them on, the white fade from the bleach turned yellow... :(  I painted the hearts in just like the letters.
I wasn't loving the yellow "glow" in the middle.  In my attempt to "cover up" the yellow, I added more sparkle to the shirt with glitter fabric paint.  I just dabbed on some glitter dots and smeared them with the paint brush. 
Now the shirt looked like this
 Now the shirt looks like this...much better
After washing it in a regular load, the yellow came off...whew.
And this is what the shirt looks like when Sammie is in model mode...
Work it girl!

September 25, 2011

The Mommy Touch...

It is no big secret that I have an obsession when it comes to embellishing my kids shirts or mine for that matter. You know it's bad when my son complains about a plain shirt; "Mommmmmm, this shirt doesn't have ANYTHING on it!" So what I'm I to do? To appease my little fans, I change up their shirts, just a little. 
I give it the MOMMY TOUCH.

See the eyes...no eyes really...
now look how much better rocker panda looks...just by sewing on buttons
Brontosaurus' skeleton looks like it has something to say...
...he does!! I made a freezer paper stencil for this shirt.
Trex's eye seems off with his large head...
so I sewed on a large button...he's looking good now.
I really liked this shirt when I bought it...
but seriously DUDE...this is much better, just use fabric paint.
Another dino shirt...although the bottom blue head sure pops...
it looks better with orange fabric paint...I just filled in the lines and smooched a button in the eye socket  
True story: All I did to this shirt was iron on the strip of rhinestones to the front. Neighbor's kid was over and she said, "Oh I have that shirt too!" and when she took a second look she said, "Oh never mind, mine doesn't have diamonds."   It's easy to make your child's store bought clothes different from the rest.  
Another simple striped shirt...but add a store bought iron-on applique
...bet you no other kid has one like this.
I did sew it after I ironed it on...just to make sure it stays on.

I hope I've given you some simple ways to give your kid's clothes the MOMMY TOUCH.  
Pretty soon, no shirt will be left untouched...just like at my place.

September 10, 2011

Baby Rose Shirt Redo

I hope you are not getting too tired of my kid's shirt redos, but I REALLY like to make their shirts, especially if I can reuse their baby clothes.  My kid's baby clothes were/are so cute...I just can't help myself.  
So, this refashion comes to you courtesy of my daughter's long sleeved 2T shirt.  I love the details of this shirt and how cute it looked on Sam when she was little.  When she outgrew it, it got put away. I figured I would let Sam use it for her dolls someday. Well, forget the dolls, I used it to make a cute shirt for Sam ...six years later.
Here is what the 2T shirt looked liked before the transformation.  See how wrinkled it is from being tucked away in a chest for years?  I love the rose cut-out and the striped sleeves especially the ruffled edge at the end of the sleeves...
So, basically what I did was cut out the flower cut-out  and centered it to the new shirt. I did this by folding the shirt side ways and ironing a line down the middle.  Then I did the same with the cut-out.  
See the thread running down the middle...that is just to show you how to line up the shirt with the cut-out to get it to look centered. 
Then pin and sew around the cut-out
I sewed around the cut-out twice just because...and then trimmed the edge (sorry, forgot to take pic)
Make several strips by cutting up the sleeves. Fold and iron your strips length wise
and use them to trim out the sleeves like you would with bias tape.  Just start with one strip and when that strip runs out, layer another and continue around the sleeve.
Just sew around the sleeve.  I used the width of the foot as a guide. 
Once I was done sewing, I just trimmed off the extra fabric.
Don't forget to do the same for the neckline. Remember the cute ruffled edge on the sleeves? I cut the ruffle close to the edge and made these pretty roses. I pinned them to the flowers that were printed on the cut-out.
I sewed/tacked them down by hand and added clear beads.
and there you have it...still cute six years later ...
and, um, yeah, don't you think the shirt is cute too...?


Related Posts Plugin for WordPress, Blogger...