Remember this cute dress by A Couple of Craft Addicts?
Well, today we have Jessica sharing another cute and colorful dress tutorial. Her dress was the top viewed link two weeks ago at It's A Rockin' Party and therefore she gets to be a guest blogger today...so without further ado, here's Jessica...
~.~.~.~.~.~.~.~.~.~.~.~.~.~.~.~.~.~.~.~.~.~.~.~.~.~.~.~.~.~.~
This dress was inspired by my dear friend and co-blogger Heather. Her
necklace onesie is the most viewed item on our blog. I loved the idea so I decided to apply it to a dress for Elizabeth. 

I made a tutorial for this dress but I want to add a disclaimer. Here is some background...I have only been sewing for about 2 years and making my own patterns for about 3 months. I have never taken a sewing class. Most of the time I make it work and it is not always the "correct" way. But that is how we learn, by trying something new. So with that in mind here is the tutorial.
Materials: for a 2T
1/2 yard of material for the top and sleeves. I used satin stretch cotton.
a piece of fabric measuring 16"widex44"long for the skirt (add about 1 inch to the length for each additional size)
2 strips of fabric for the sash measuring about 4"x44" wide (this is just a base, I cut it down to adjust the length which I will talk about later
medium ric rac
large ric rac
fabric paint
a pencil
two small buttons for the front and 3 larger buttons for the back
The process:
1. We are going to work on the bodice first. You will need a fitted t-shirt and some tissue or medical paper for the pattern. Create a basic a-line pattern using your t-shirt.


Then cut about 2 inches under the arm.

Now you are going to use this to cut out your bodice. You need to cut 2 of the sleeve on the fold and 2 of the top (one for the front and one for the lining). Then you are going to use the same pattern piece to cut the back but this time you need to add about 1 inch starting from the middle to aid in the overlap for the buttons. Cut 2 (one for the back and one for the lining". Cut these on the selvage (the raw edge).
Here are your pieces.
 2
2. Now we will put it together. Start by sewing the front piece and the back piece together at the shoulders with right sides together. Repeat with the lining pieces.

Here is what the pieces will look like laid out. I like to press the seams open for a flat and clean look.

Now you are going to lay the lining on top of the outside pieces with right sides together. Pin and sew down the middle of the back, and around the neckline.

Now clip around the curves for an easy flip. Then flip the bodice right side out.


Finally you are going to sew the sides together. You need to match up the right sides together on the outside pieces. Then match the right sides together of the lining. Now you have a bodice.
 3
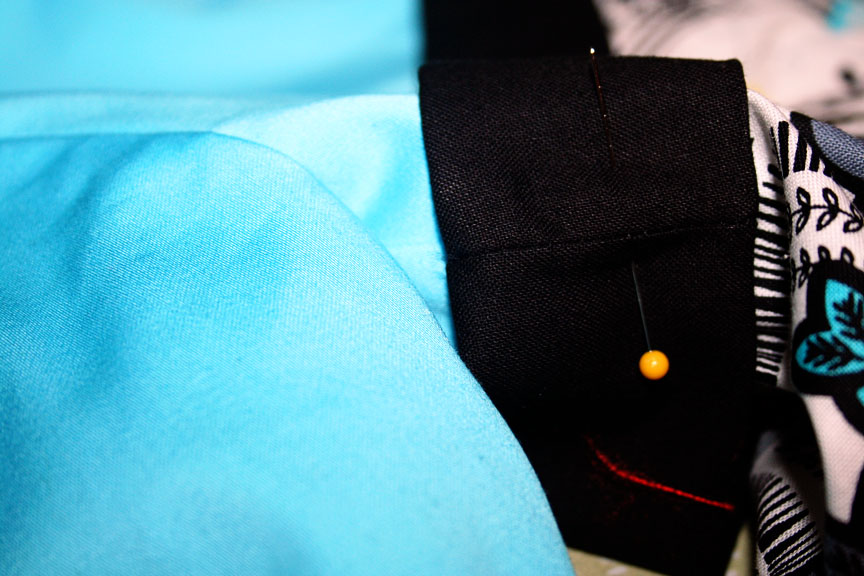
3. The sleeves are next. I started by creating a cuff to the end of the sleeve. Fold the end up 1/4 inch and then another 1/4 inch and press. I wanted to add some medium ric rac peeking out under the cuff so I pinned it to the inside and sewed it down.


Then with the right sides together sew the sleeves together up the side. Then flip right side out.
 4.
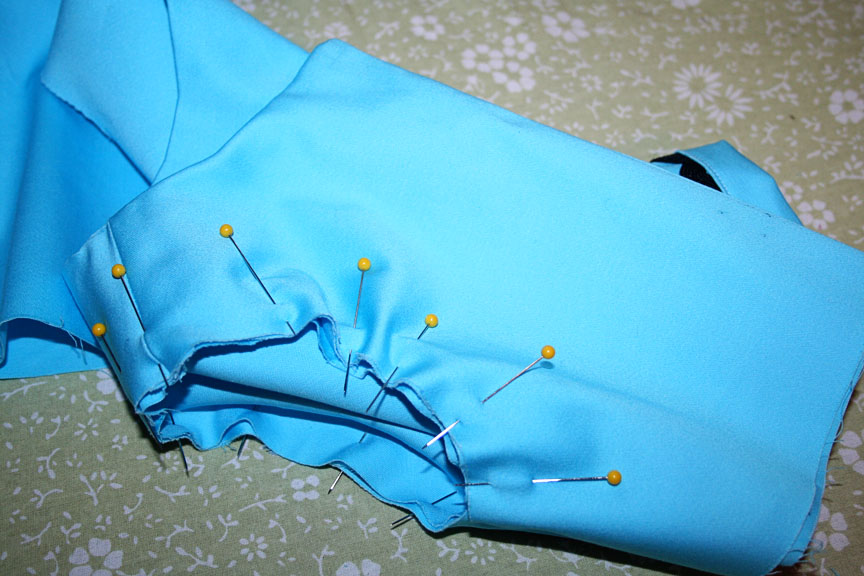
4. Next we will set in the sleeve. Turn your bodice inside out and stick the sleeve through the arm hole right sides together. Pin it in place and use A LOT of pins. I like to start at the top middle of the sleeve and pin it to the shoulder at the seam. Then pin the bottom matching seam to seam. Now finish pinning all around the sleeve.

Sew it in place. Flip it right side out and repeat with the other side.


Finally you are going to create your button holes in the back.
 5.
5. Now we will work on the skirt portion. Start by creating a hem by folding the bottom under 1/4 inch and another 1/4 inch. Press and sew down.

Next I added large ric rac to the front of the skirt along the hem line.

Now using a long stitch sew a line along the top of the skirt about 1/4 inch from the edge and leave the ends long for synching. Now sew another line next to the first line.

Pull on the tread ends to gather the skirt. Gather until it matches up with the bodice length but leave about 1/4 inch of skirt on each side for your skirt seam. Pin to the bodice and sew in place.


Now sew the back of the skirt together.

You will have to overlap the top of the skirt where I meets the bodice because the bodice overlaps for the buttons. I just make an extra gather at that part and sew it in place. (Don't worry your sash will cover up any oddities).

 6.
6. Now you are going to make the sash. Sew your two sash strips together to make a long strip. To get the correct length measure around the front of the dress and then the back tying it in a bow (I like to put the seam in the side seam of the dress so you can't see it). Now you can gauge the length you need based on your bodice and desired bow size.

Now fold your strip in half right sides together and press. Then sew your strip together starting at one end and down the length. (Do not sew up the end or you won't be able to flip it back over.)

Using a wooden spoon flip the sash back to the right side.

Fold the edges of the open end inside and blind stitch or top stitch the end closed.

Now attach your sash to your dress at the side seams, matching up the seam in the sash with one of your side seams.
 YOUR ALMOST DONE!
7
YOUR ALMOST DONE!
7. Now for the fun embellishments. Either by hand or using a stencil draw a collar line on the top front of the dress. I just did it free hand (it doesn't have to be perfect.)

Now take your pencil and dip the eraser end in fabric paint. Then make dots along your line dipping the pencil in the paint every other dot. (I would practice a little on a scrap of your fabric to make sure the color, size, and textures work.)


Now add your small buttons to the front and back.

My daughter loves it so much she refused to take it off before bed.


 Well, Today we have Brandi sharing another fun and simple tutorial. Her pillow was the top viewed link at one of our It's A Rockin' Party and therefore she gets to be a guest blogger today...so without further ado, here's Brandi...take it away girl...


 Using a hole puncher, I made a hole in the mat to mark the spot where I would place twine to hang my wreath.