Showing posts with label DIY. Show all posts

October 15, 2011

Butterfly Love Shirt

I love the look of a faded graphic t-shirt especially when it's personalized for my girl. 
Purple? Check. 
Butterflies? Check. 
Glitter? Check. 
Super long lashes? Check.
Last week, Happy Hour Projects had a great tutorial on  how to make a graphic using freezer paper and bleach. So using that tutorial, I made this shirt and took it a step further... x 3.

I started with a regular purple shirt.  I traced the butterflies onto the freezer paper, cut and ironed onto the shirt. I purposely ironed the butterflies over the sleeves...
I lightly sprayed bleach onto the shirt...just enough to get the fabric wet...and by total accident, a couple of drops of bleach fell onto the bottom of the shirt...in the end, it worked in my favor. Make sure to insert cardboard or plastic bags into your shirt to protect the back of the shirt...you don't want bleach to stain that part.
When it was dry, it looked like this
When I removed the butterflies, it looked like this...see how the accidental drops of bleach worked in my favor...looks like butterfly dust as they flutter about.
I liked it but it was missing something...so then I did this...using freezer paper, I traced and cut out the word LOVE.  Ironed on the stencil and proceeded to paint the letters using several fabric paint colors. I painted and blended in the colors over each other.  Once the paint was dry, I went back and repainted the letters again using fabric glitter paint.
Then it looked like this...I forgot to take a picture of the shirt without the hearts, but basically, the shirt still looked too blah at the top.  So I drew and cut out heart stencils using freezer paper.  When I ironed them on, the white fade from the bleach turned yellow... :(  I painted the hearts in just like the letters.
I wasn't loving the yellow "glow" in the middle.  In my attempt to "cover up" the yellow, I added more sparkle to the shirt with glitter fabric paint.  I just dabbed on some glitter dots and smeared them with the paint brush. 
Now the shirt looked like this
 Now the shirt looks like this...much better
After washing it in a regular load, the yellow came off...whew.
And this is what the shirt looks like when Sammie is in model mode...
Work it girl!

October 08, 2011

Drapery Fabric Note Card Tutorial

I made these cards for a very special friend of mine who lives in West Texas.  
Her initials are DL...so if DL is reading this, then, uhm, -Look, over there...something shiny!...  
Whew...gotta distract the girl...these are for her birthday.
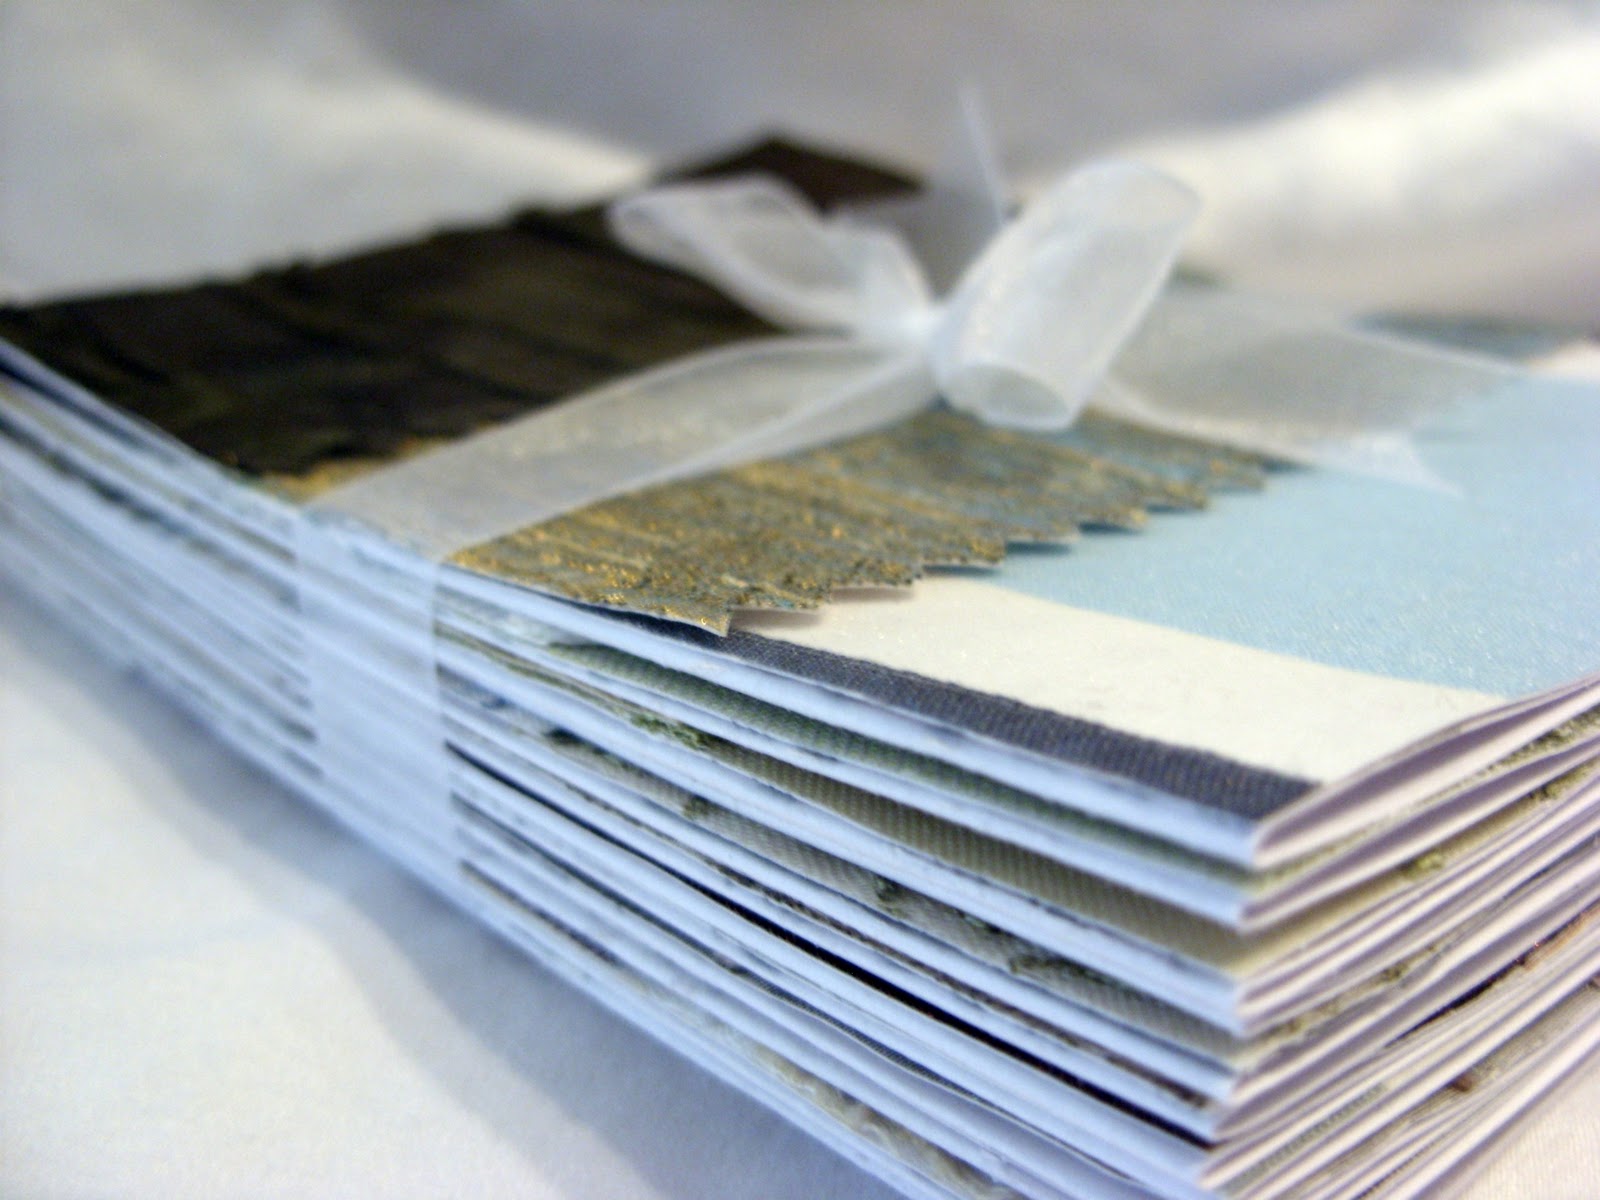
Remember this post...Silk Poppy Pin Tutorial and how I told you how I scored about 30 upholstery/drapery fabric sample books on Craigslist?...Well, for these cards I used the bottom of the fabric that has the glued paper backing.  It's perfect because the fabric doesn't fray or unravel. I just cut along the pink lines I have marked here...
... and I ended up with lots of these :
Beautiful colors and lots of textures.  The added bonus is that these books come with fabrics that are color coordinated so there is no guessing when choosing a color scheme.

I always try to have a stash of store bought blank cards because you just never know when you are going to need one, or several.  I usually buy cards at Hobby Lobby when they are 50% off .  

So, take one card, fold in half and add hot glue to the front, only on one side first like this:
quickly and with lots of care (hot glue is, well, um, HOT), place a fabric strip to the glue...
and repeat till you get to the end of the card...
and then the back should look like this:
Notice that the fabric strips are not lined up with the card...that's okay because now you are going to do this:
Trim the card on all sides. Now this step is not necessary but I do it just to get a crisper looking card.  I iron the inside of the card (the side that has the fabric) with 2 or 3 swift passes of the iron.  This remelts the lumpy hot glue and gives you an even glue coverage between the card and the fabric.  Once you iron the card, place it immediately between two heavy books and let it cool down. Also, just in case you don't have sample fabric books just laying around, you can use double sided scrapbook paper. 
Aren't these beautiful?
I made a set of 12

Add a bow...
 and they are ready to be mailed off to my sweet friend DL.  And DL, if you did read this that's okay. 
Thanks for being my friend; 584 miles away. Happy Birthday.


August 30, 2011

DIY Angry Bird Backpack

When we bought my son's backpack for school, I was surprised that he wanted a plain Jane backpack.  No Spiderman. No Batman. Not even Spongebob. He chose a black, red and grey backpack.  But I was not surprised that Joshua already had something in mind for his plain Jane backpack. He wanted an Angry Bird backpack...more specific, he wanted the black bomb bird and the red angry bird.  So this was my solution to his 'simple' request.
I found Angry Bird clip art online and traced it with freezer paper.  I cut out the images and ironed them onto the flaps.  Cheri at I Am Momma-Hear Me Roar has a really good tutorial on freezer paper stenciling.
Right about this point is when I regretted the whole idea of the freezer paper.  See how I burned the nylon around the black edge of the flap...ugh! But I just carried on...the only option I had was to try to make it better.  So once I was done, I went back and painted in the burned part with fabric paint. It doesn't look that bad. And the best part is that Josh didn't notice...or at least he didn't say anything.
So, I painted the flaps with fabric paint, including the beaks.  I added googly eyes with fabric glue.  
A week later into kindergarten and the eyes are still on.
Overall, I'm happy with how it turned out, burned flap and all.
It's the perfect backpack for Buddy to wait for Joshua every day.  We NEVER leave home without Buddy...
not even on the first day of school. 
Sam's shirt tutorial.  Rose clip tutorial. Joshua's shirt tutorial. 
So far, Buddy has perfect attendance 
and he doesn't mind waiting in the backpack until the end of the school day. 
That is when he gets to come out of the backpack and ride the bus shot gun with his best bud, Joshua. 


June 28, 2011

Sam's Summer Bookmark Collection

Today I want to feature my daughter, Samantha.  
After all, she is half of the "Company" in RoCa and Company.

She is my creative guest today.  Sam is an amazing kid.  She is the most giving 8 year old I know. She is my little house cleaning freak.  She reminds me of Monica from "Friends", constantly cleaning and organizing.  She really keeps me on my toes because I don't want to be 'up-ed one' by an 8 year old.

Samantha also loves to read especially books about animals. If given the choice to watch a movie or read...books always win.  Since she reads so much, and reads several books at the same time; bookmarks are a must.  Her solution is to make her own.  Here are a couple that she made a week ago.  She is very proud of these and wanted to share with you her latest creations.  Yes, this is not the first time she has gone into bookmark mode. She will spend an entire Saturday afternoon hovering over the kitchen table with glue, construction/scrapbook paper, scissors and hole punchers. 

So here is a sample of 
Sam's Summer Bookmark Collection

3D Caterpillar on Wheels

Sail Boats on the Lake


It's Chick to Read

Get Hooked on a Good Book


Circle Flowers with Bugs


Butterfly Friends


I love the details and the thought that went into making these. I am a very proud and blessed mama to have this extraordinary girl in my life.   


Related Posts Plugin for WordPress, Blogger...